Use Case: Automotive
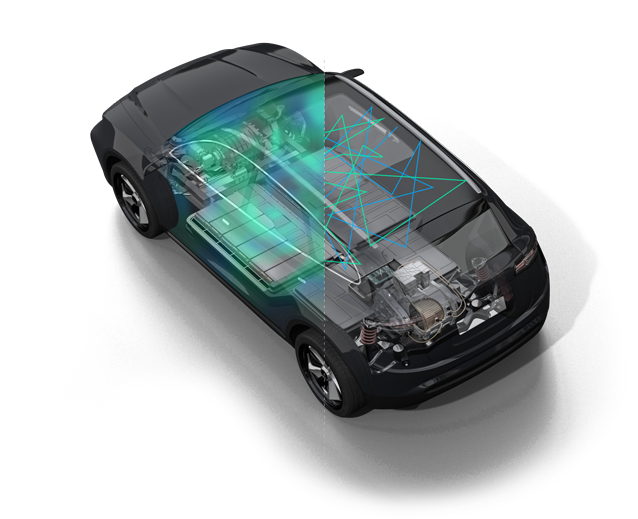
The Treble SDK is capable of simulating the acoustics of a car cabin. Using the SDK, users can virtually prototype the acoustics and the infotainment system together, estimate STI in the car, and validate acoustic designs virtually.
Tutorial
In this tutorial, we will guide you through the process of setting up an acoustic simulation using the Treble SDK. You'll learn how to define and manipulate geometric models, inject source geometries like loudspeakers, and configure the simulation environment to accurately simulate sound propagation in a 3D space.