Auralization presets
In Treble, you have the option to organize your auralizations into presets. This feature allows you to maintain an organized overview of your acoustic designs and comparisons.
An Auralization preset includes:
- Simulations to compare
- Sound assigned to each source (restricted to library sounds)
- The level of each source
- The level of master
- Whether a source is muted or not
- Name and description of the preset
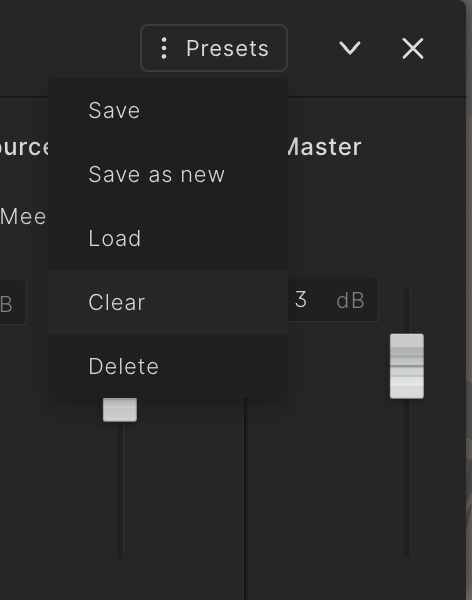
To create an Auralization preset, you need to open the Auralizer. You can access all the functionality related to presets under the Presets menu.

Creating a Preset
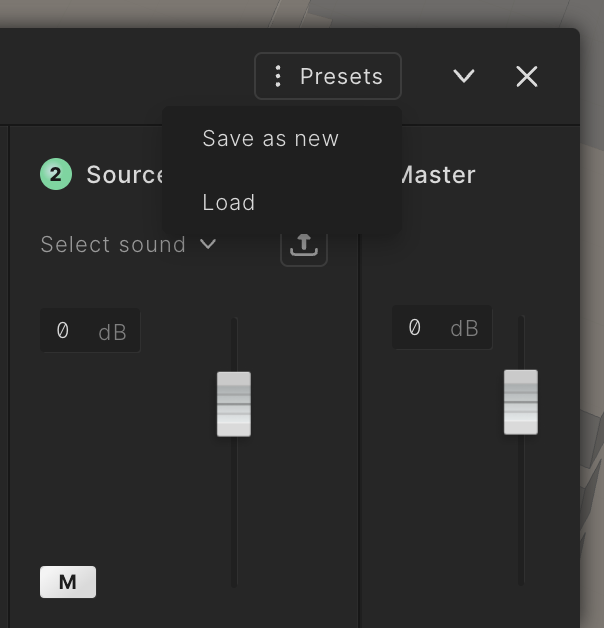
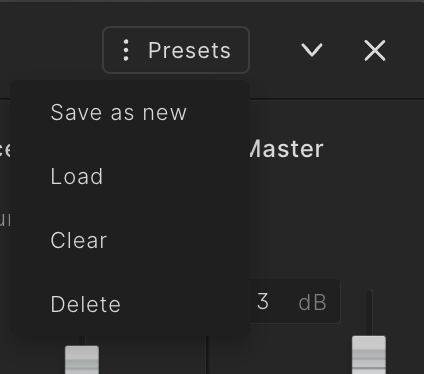
To create a new preset, click on the Presets menu in the Auralizer panel. A menu will appear where you can select “Save as new“. This action opens a popup where you can name your preset and add an optional description. It doesn't matter whether you have configured your preset already or not; you can always save your changes.
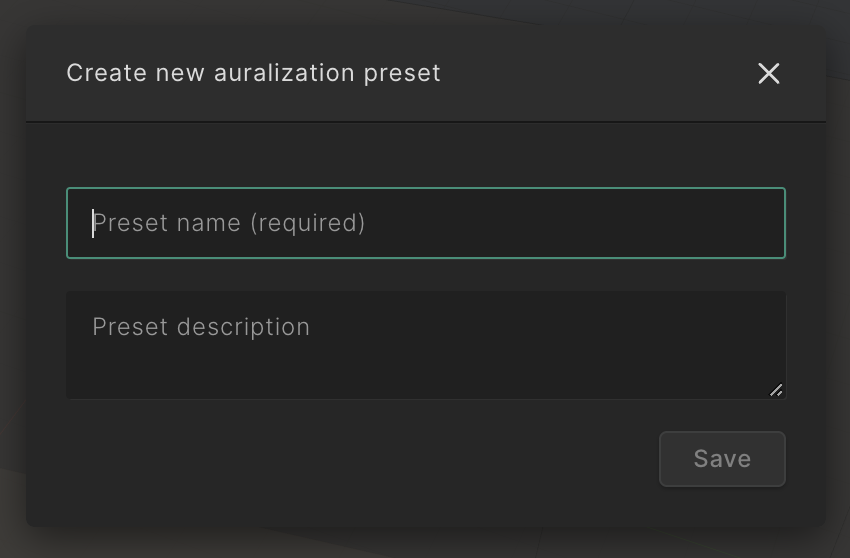
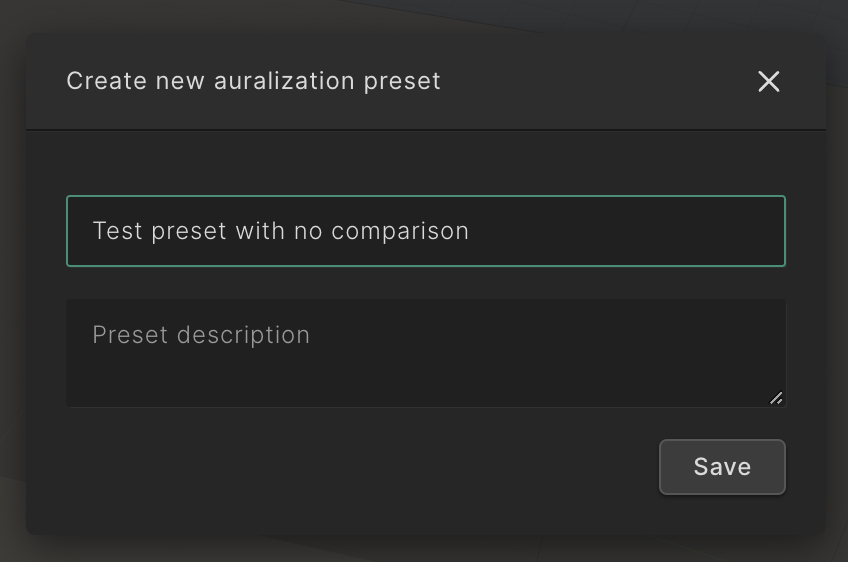
Once you select “Save“, the popup will close, and you will see the preset name in the Auralizer panel.

Loading a Preset
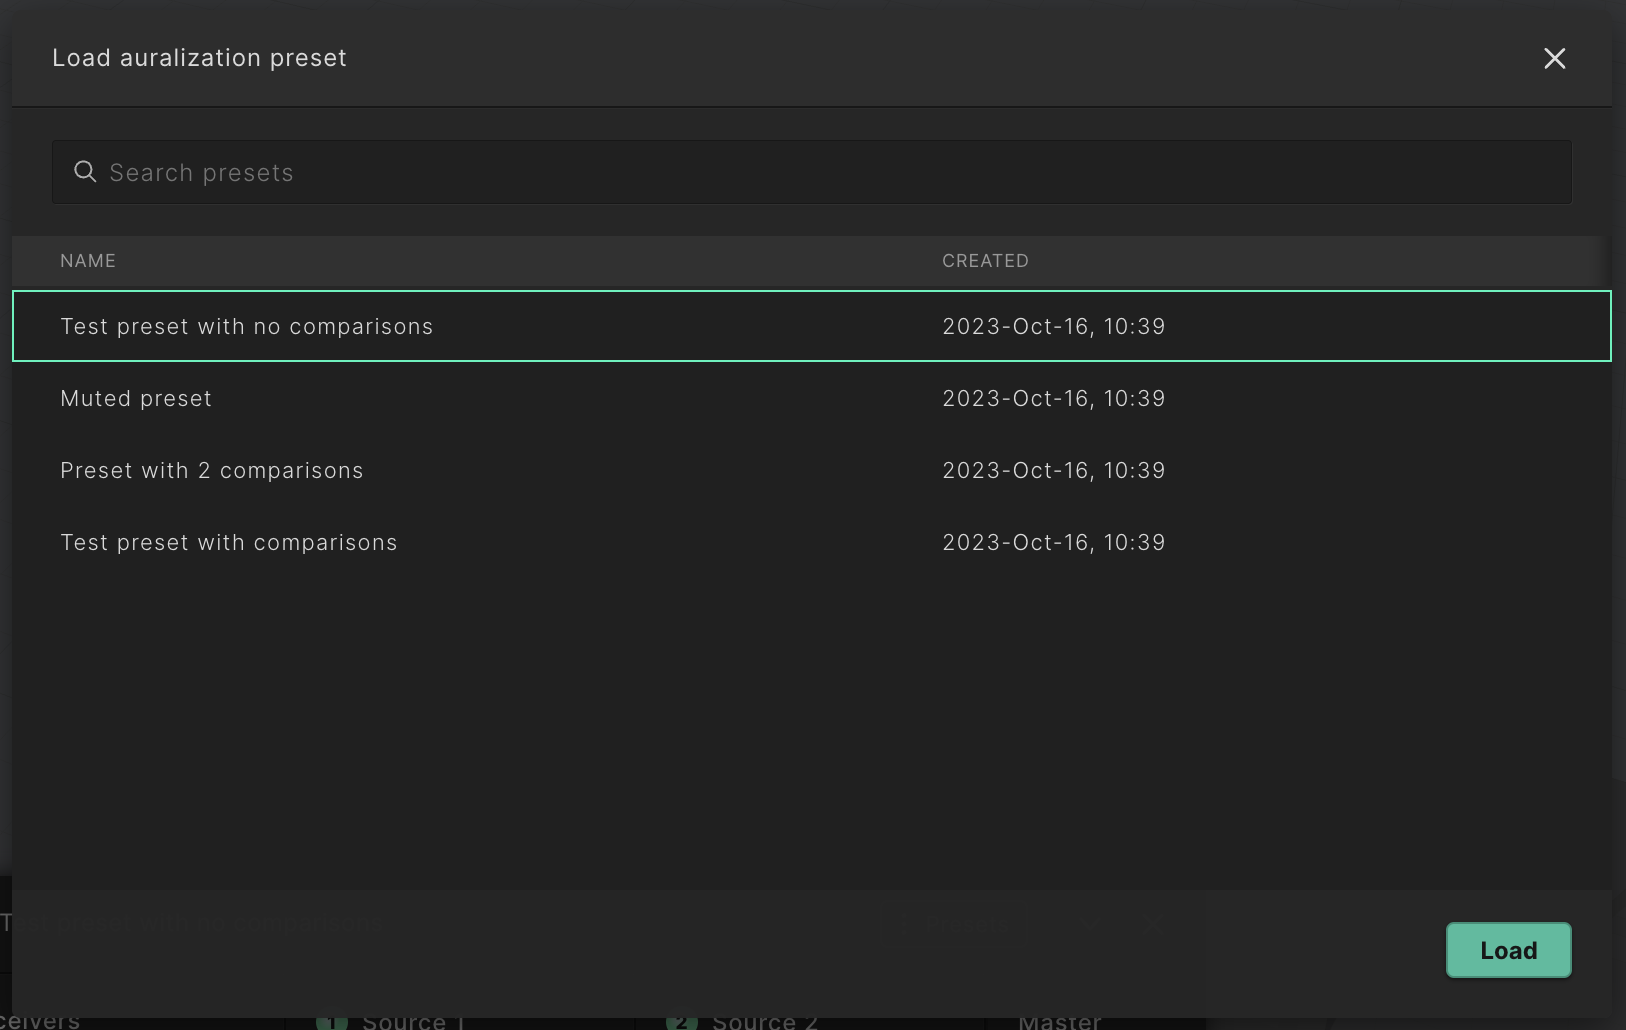
Select “Load“ in the Presets menu. A popup will appear where you can search for a specific preset and load it into the Auralizer by selecting “Load“. The Auralizer will then display the selected preset.
Updating a Preset and Saving as New
After loading or saving a new preset, you have more options to choose from.
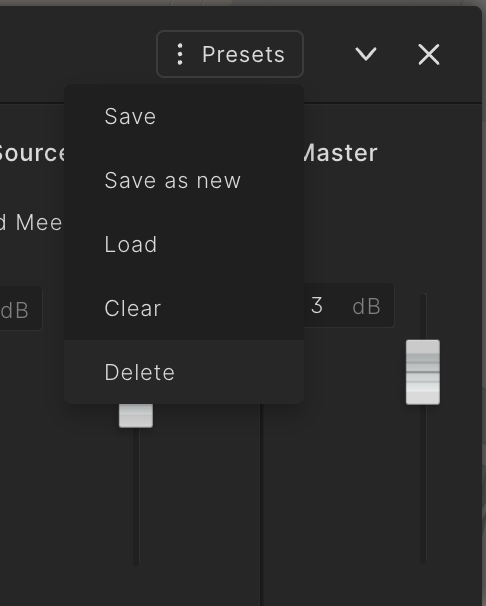
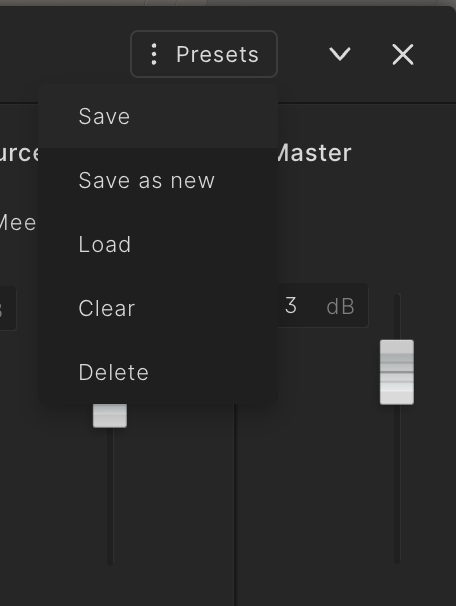
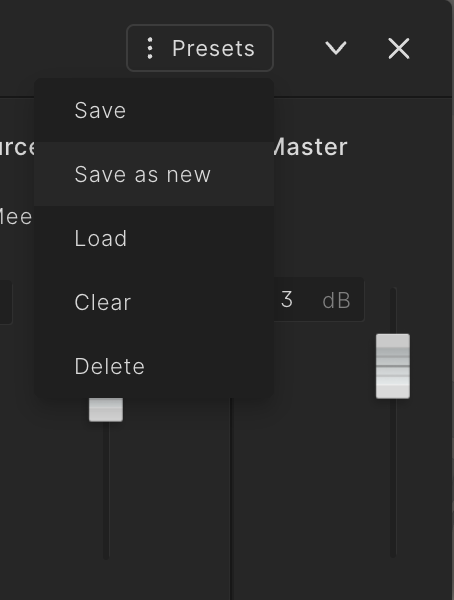
If you wish to update your preset, you can simply make adjustments. The title of your preset will show “[Edited]”, and then you can select “Save“. If you don't want to overwrite your current preset, you can also choose "Save as new" to create a new preset with your current changes.
Clearing a Preset
You can remove the preset from the Auralizer by selecting “Clear“.
Deleting a Preset
You can delete your preset by selecting “Delete“. A confirmation popup will appear, and once you select “Confirm“, your preset will be deleted.
