Visual models in the auralizer
This section describes a feature that is only available for premium users.
What is a visual model
A visual model is a rendered model or a LiDAR scan that has been exported in the .glb file format. These files can be uploaded within the auralizer, as an overlay on top of the acoustical simulation model. This allows for improved visualization capabilities when creating and sharing auralizations. The visual model is purely aesthetic and is not used for simulation purposes.
Creating a visual model
Geometrical models can be prepared for and exported to the .glb file format from different tools, such as Sketchup (version 24 or later), Rhino, Blender or Unreal.
The process differs between different software solutions. There are many resources available online on how to optimize the creation of .glb files within the different tools. Perhaps the simplest software to use in this regard is Sketchup. Following is a short explanation of the process using Sketchup version 24 or later:
Creating a visual model using Sketchup
After drawing the basic geometrical shape of a room, e.g. via a traditional acoustical simulation model, there are two steps we reccomend following in Sketchup to create a visually pleasing .glb model. Those are using the 3d warehouse to add premade 3d models of interior objects and applying textures to surfaces.
Further explanation is as follows:
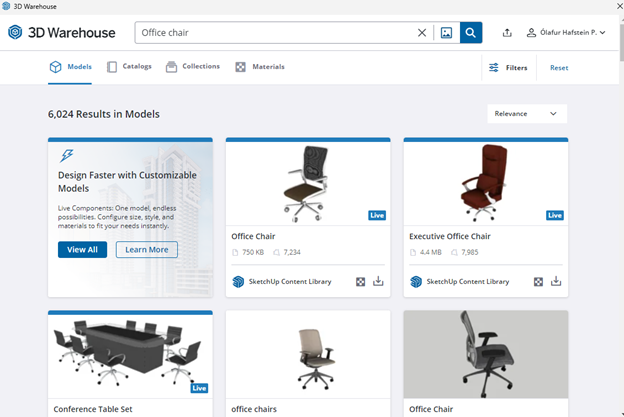
Using the 3d warehouse
The 3d warehouse ![]() can be used to search for and input premade 3d objects such as chairs, tables, decorations etc. This can be useful to quickly add a more visually interesting representation of objects than are used in acoustic simulation models
can be used to search for and input premade 3d objects such as chairs, tables, decorations etc. This can be useful to quickly add a more visually interesting representation of objects than are used in acoustic simulation models
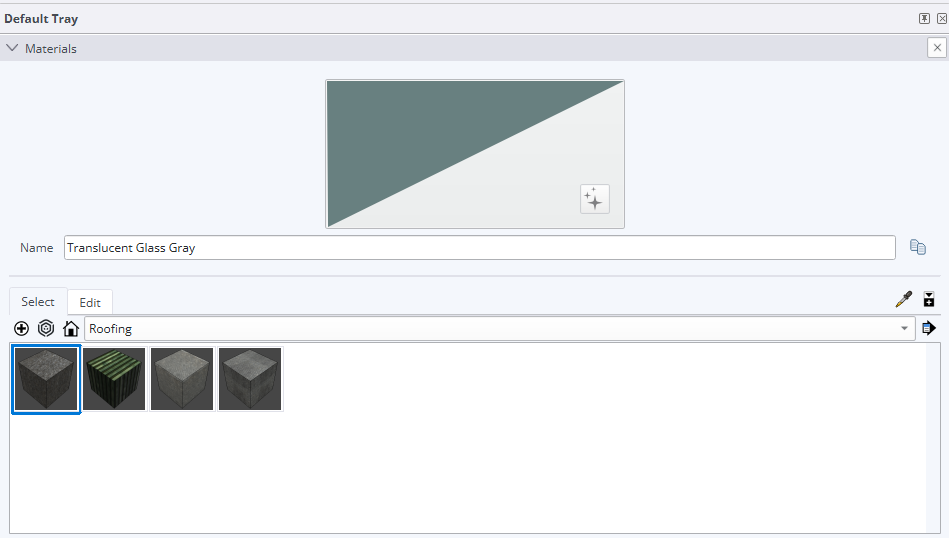
Applying textures
A texture can be assigned to a surface by opening the ‘Default trey’ (Window-Default Tray-Show Trey) and opening the ‘Materials’ tab. The paint bucket is then used to assign the desired texture to a surface
Note that in order to ensure that the texture is read correctly it’s reccomended to place it on both sides of the surface. This can be checked by right clicking the surface and selecting ‘Entity info’
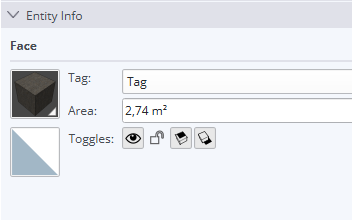
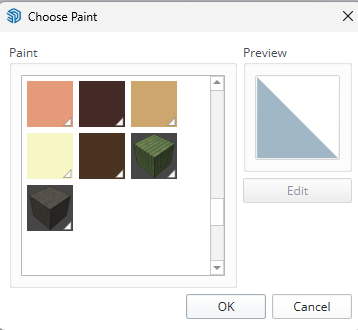
In the ‘Entity info’ window you will see two thumbnails, one with the newly assigned texture and one empty. To assign the same texture to the empty thumbnail start by selecting the thumbnail. Then select the correct texture in the ‘Paint’ list and press ‘OK’
When you have set up the visual model according to your wishes, select ‘Export’, choose ‘3d model’ and make sure the file type is glTF binary file (.glb)*
When modelling windows, we recommend not modelling the glass but rather leave the area where the glass would be empty. This ensures that internal objects will cast shadows, making the scene more realistic.
The description above is all that is needed to start creating visual models in Sketchup. There are, however, many resources online for different tools and processes that we encourage you to explore.
Uploading a visual model
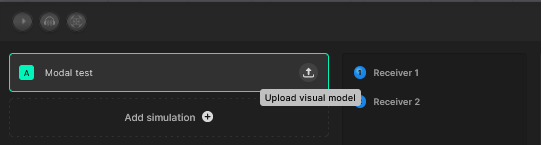
To upload the .glb file open the auralizer and select the ‘Upload visual model’ icon next to the name of the simulation you wish to overlay the model on top of.
Note that if you have multiple simulations within the auralization (A, B, C etc.) you need to upload a visual model for each one separately. This allows you to create different visual models for different configurations of the same space (e.g. with and without acoustic treatment) for maximum visual effect.
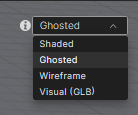
After uploading the visual model and whenever you access the auralization again after closing the auralizer, the .glb file will be parsed. This process can take up to a minute or two, depending on the size of the model. After the visual model has been parsed you can toggle it on or off using the dropdown menu in the top right corner of the viewport.
Visual model settings
To edit the settings of the visual model select the ‘Visual model settings’ icon next to the simulation name

This will open the settings menu where the following settings can be customized:

Action menu (three dots): Within the action menu you can upload a new visual model instead of the current one or delete the current one
Manual alignment: If the visual model is not aligned correctly with the simulation model you can turn the manual alignment toggle on. This will allow you to move the visual model around, with the original acoustical model visible as a wireframe for visual reference.
Environment: This setting allows you to choose from a selection of predefined background images. These images are visable through the openings of the model (such as the windows) and set the ambiance for the scene.
Brightness: Controls how bright or dark the entire visual model appears, similar to adjusting exposure on a camera. This setting is independent of the direct lighting.
Light intensity: Controls the strength of the direct light (like sunlight) that illuminates the model from the position you set. This setting directly affects how brightly the model's surfaces are lit, influencing the contrast between lit and shadowed areas.
Light direction: Determines the location of the light source relative to the model, both vertically and horizontally, affecting the shape and intensity of shadows.
Shadow casting: This setting determines whether internal objects cast shadows or not
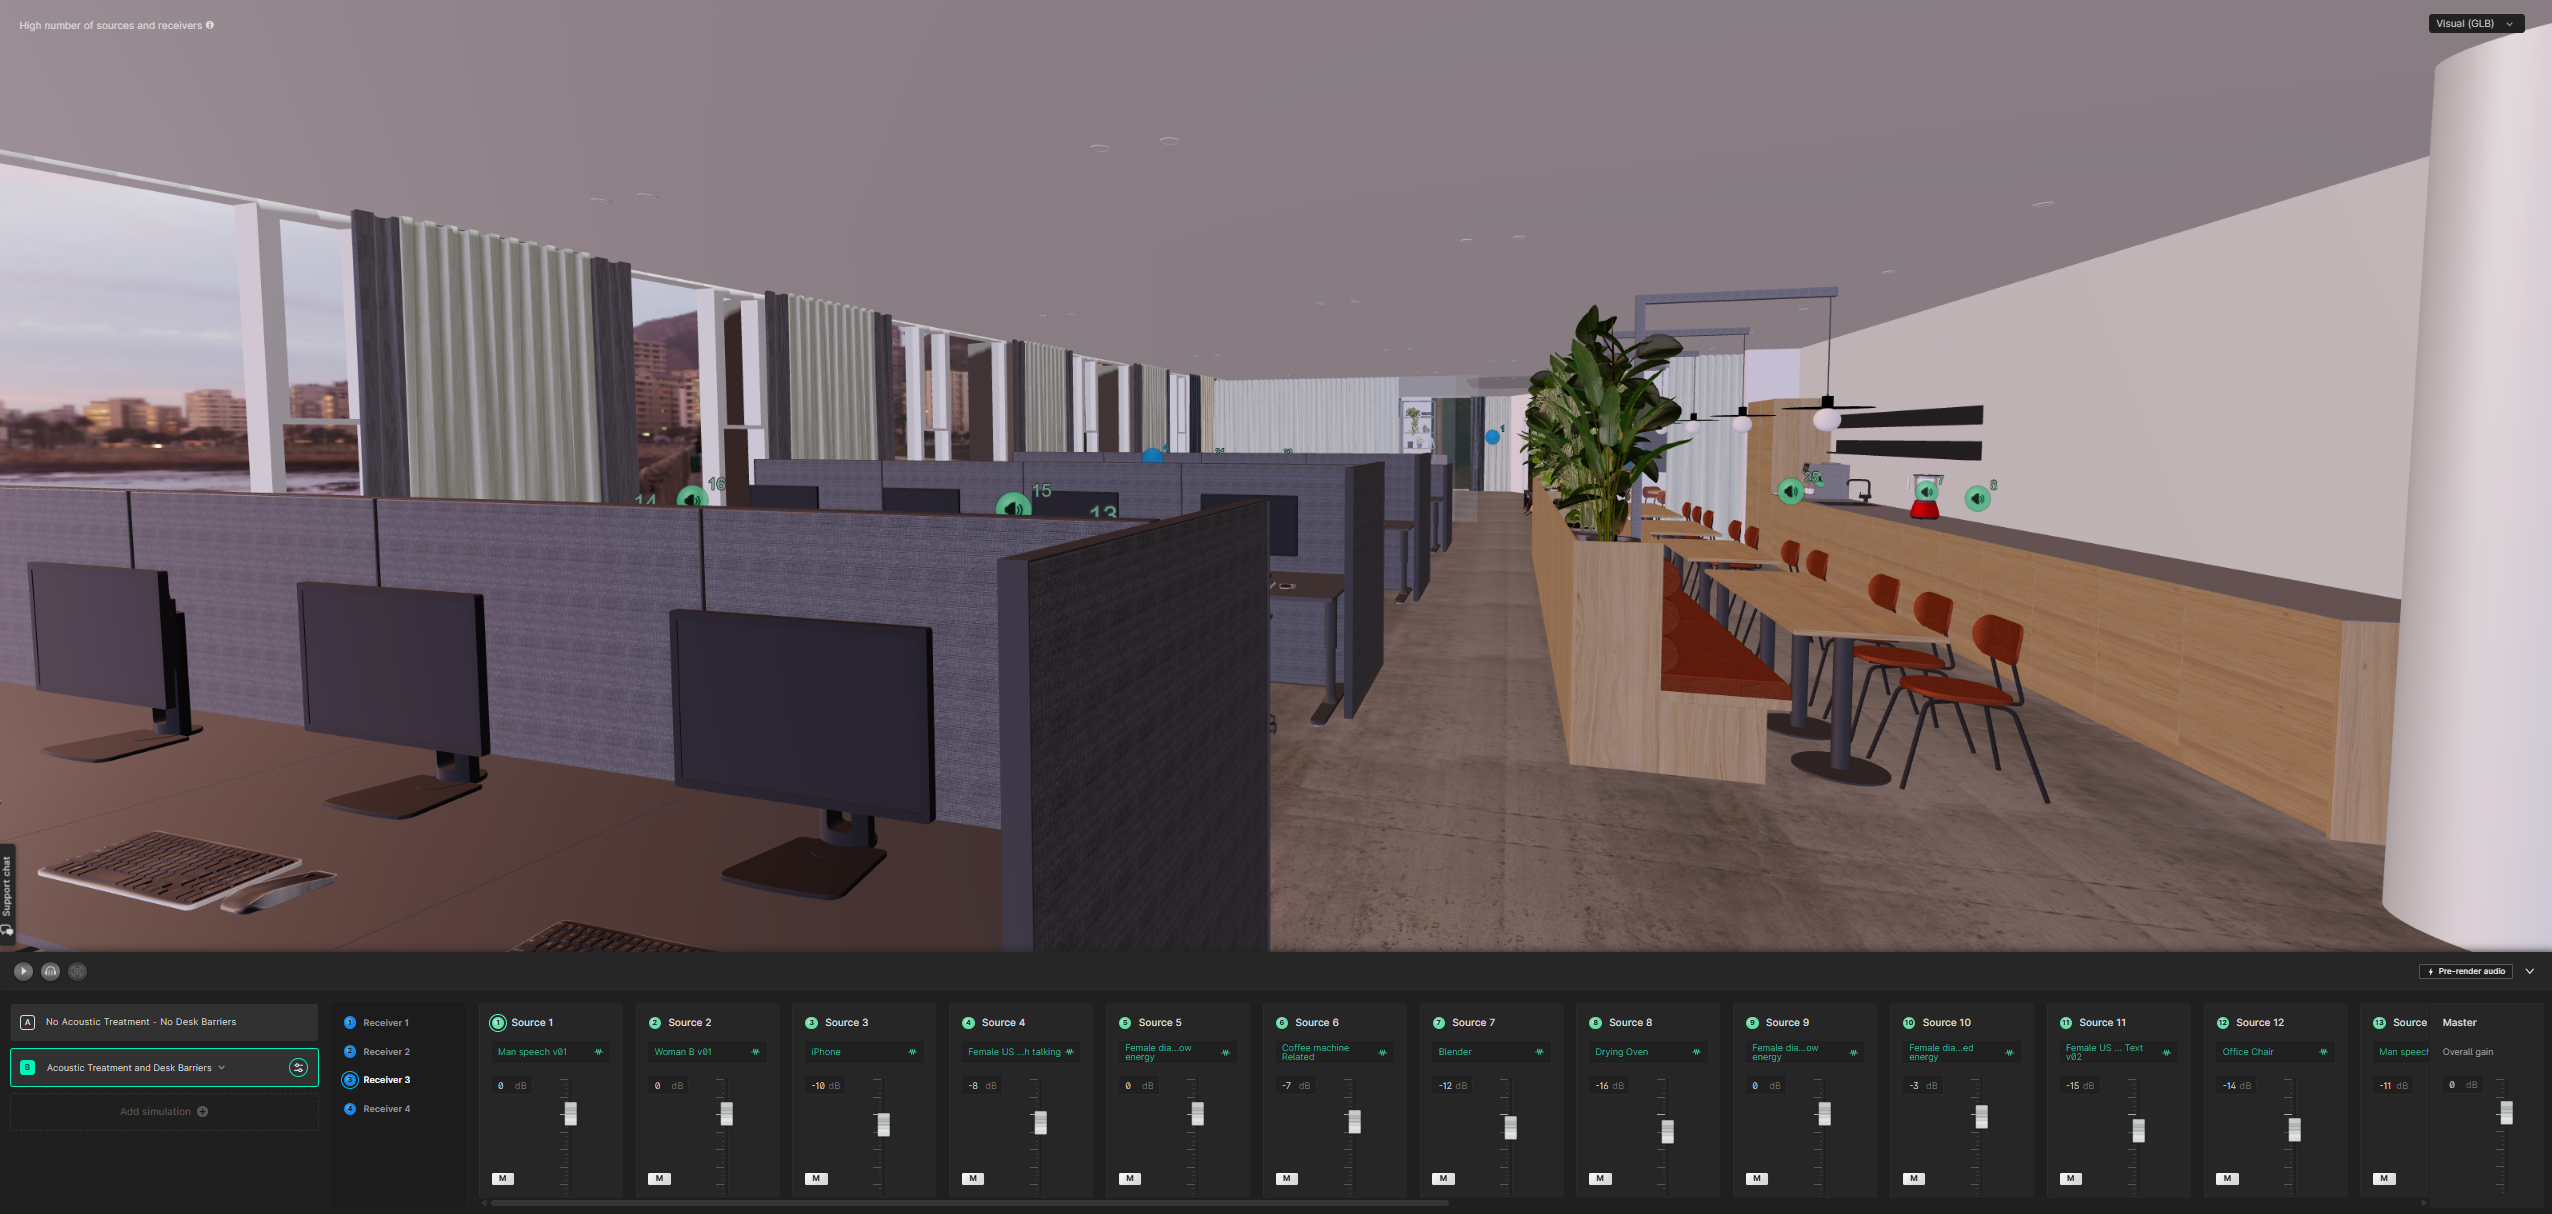
Opening an auralization with a visual model included
After a visual model has been uploaded to an auralization it will be stored as a part of it. When opening the auralization at a later time it will open in the ‘Shaded’ view, to give the visual model time to automatically parse. After the visual model has been parsed the view can be changed to the ‘Visual’ view in the drop-down menu in the top right corner of the viewport.