Microphone placement on a complex object in simulated DRTF
This example illustrates how to use a complex geometry for device import, controlling mesh detail at different levels of the model.
Key steps:
- Set up the simulation
- Apply a coarser simplification threshold
- Add local mesh sizing by layer
- Remove input geometry simplification
Set up the simulation
In some cases, you may want to keep high detail in some parts of the device and approximate the rest of its body.
This example uses a very complex model of a dog to explore simulating it as a device for projecting sound. The model is scaled down to fit within a 50 cm radius and simplified to 10,000 polygons, with the microphone placement positioned at the origin coordinate (0.00, 0.00, 0.00).
First, observe the effect of the default 1 mm simplification threshold. Set up the device import parameters:
device_name = "dog_speaker"  # Name of the device

device_model_path = "mesh_examples/DogModel.3dm"  # Path to device model
device_microphone_placements = [
     treble.Point3d(0.00,0.00,0.00)

]  # Microphone coordinates of the device
frequency = 6000  # Cutoff frequency
ambisonics_order = 32  # Ambisonics order
n_receivers = round(
    1.5 * (ambisonics_order) ** 2
)  # Number of receivers (spherical array)
receiver_sphere_radius_in_m = (
    1  # Radius of the sphere of receivers for freefield simulation
)
sphere_geometry_radius = (
    2  # Size of the spherical domain for freefield simulation in meters
)
freefield_model_name = "ff_dog_50cm_complex"  # Freefield model name
freefield_simulation_name = (
    "freefield_simulation_dog_50cm_complex"  # Freefield simulation name
)
element_size = 8e-3  # Max. element size for boundary velocity element (device mic)
element_area = (
    np.sqrt(3) / 4
) * element_size**2  # Max. element area estimation based on element size
Then configure the free field model and geometry checker settings:
from treble_tsdk.client.api_models import GeometryCheckerSettingsDto

ff_settings = treble.free_field.FreeFieldModelSettings(frequency=6000, receiver_sphere_radius_in_m=1)

mics = treble.free_field.DeviceMicrophonePlacements(  # Locations and size of the device mic (boundary vel. source)
    list_of_points=device_microphone_placements,
    injected_triangle_edge_length = 8e-3
)

ff_m = treble.free_field.add_free_field_model(  # Creates the freefield model
    project=project,
    name=freefield_model_name,
    geometry=device_model_path,
    sphere_geometry_radius=sphere_geometry_radius,
    device_microphone_placements=mics,
    freefield_model_additional_settings=ff_settings,
    geometry_checker_settings=GeometryCheckerSettingsDto(
        simplificationThreshold=0.001
    ),
)
Set up the simulation definition and add it to the project:
from treble_tsdk.core.model_obj import LocalMeshSizing
from treble_tsdk.core.simulation import MesherSettings

local_sizing = []


local_sizing.append(
    LocalMeshSizing(
        layer_name="surface_layer_0",
        mesh_sizing_m=element_size,
        keep_exterior_edges=False,  # Has to be false to have a quality mesh
    )
)

ff_sim_settings = treble.free_field.FreeFieldSimulationSettings(
    number_of_receivers= n_receivers
)
sim_def = treble.free_field.FreeFieldSimulationDefinition(  # Creates the simulation definition
    name=freefield_simulation_name,
    free_field_model=ff_m,
    frequency=frequency,
    receiver_sphere_radius=1,
    source_input="surface_layer_0",
    simulation_purpose=treble.free_field.FreeFieldSimulationPurpose.device,
    free_field_simulation_settings=ff_sim_settings,
    mesher_settings=MesherSettings(simplify_mesh=True),
    local_mesh_sizing=local_sizing,
)
sim_def.plot()

ff_sim = project.add_simulation(
    sim_def
)  # Adds the simulation definition to the project
Two parameters control the local sizing: injected_triangle_edge_length = 8e-3 and element_size.
The original model looks like this before volumetric meshing.
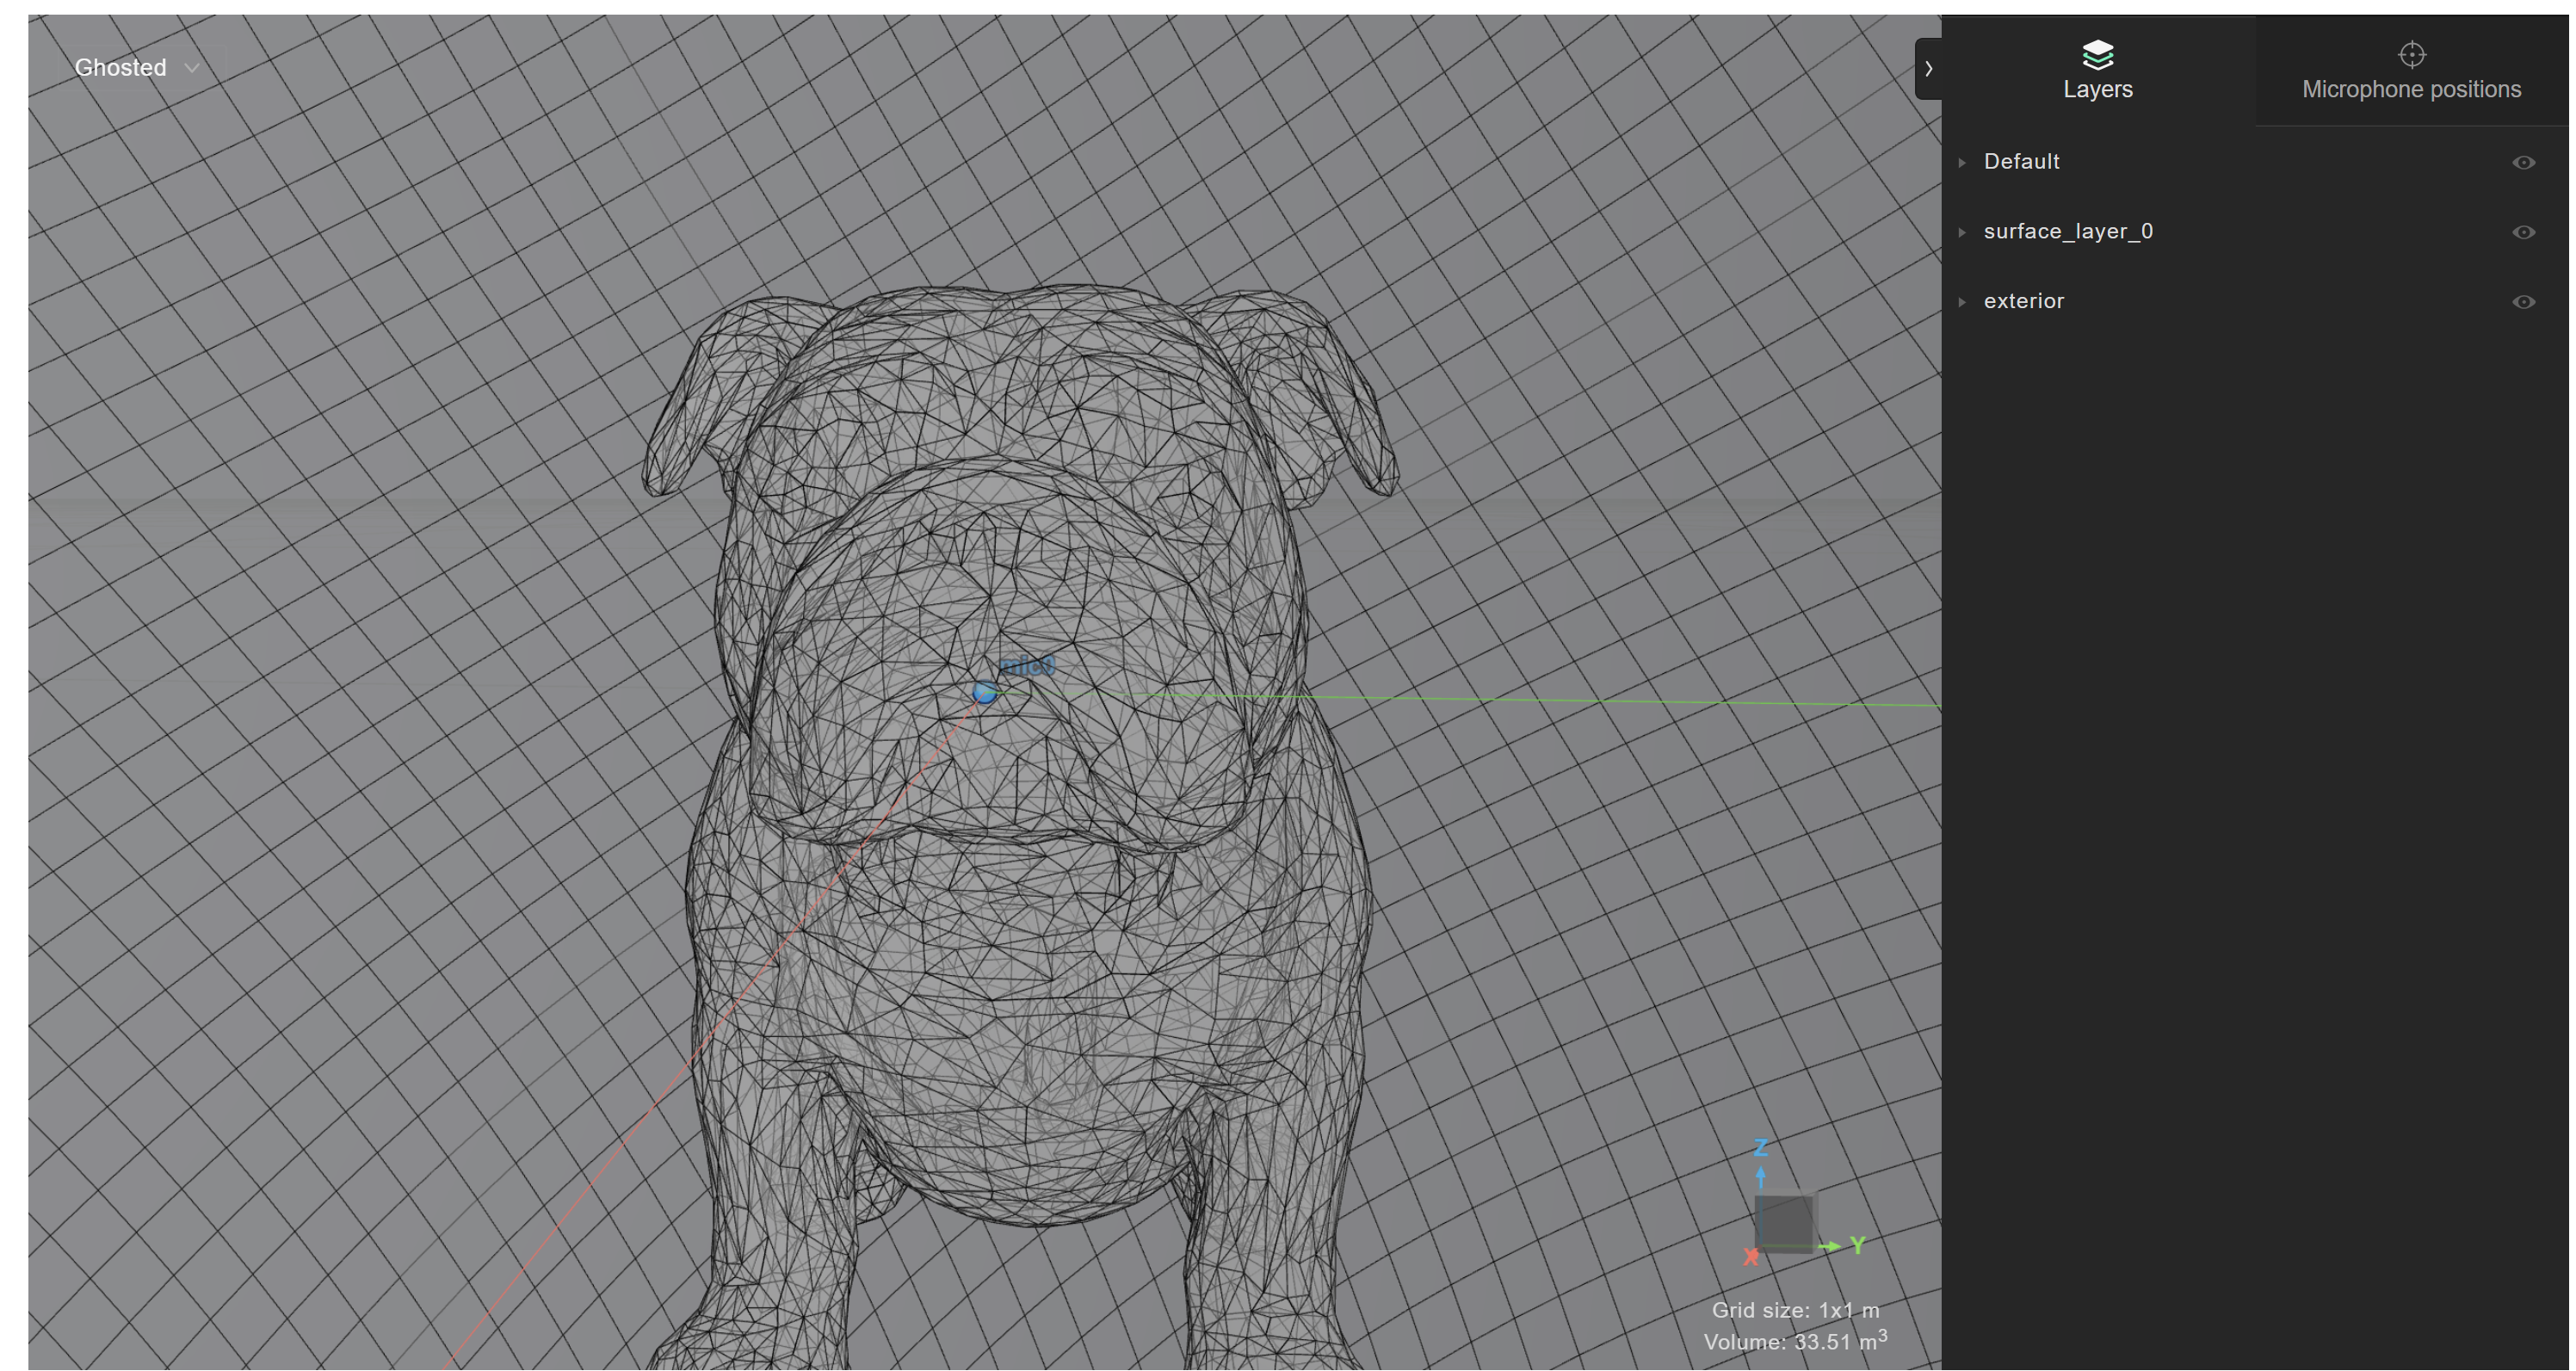
Check mesh efficiency without any local sizing other than the injected triangle at the microphone:
# Visualize the mesh with local sizing
simulation_mesh_collection = ff_sim.get_mesh_info()
simulation_mesh_collection.as_table()

Apply a coarser simplification threshold
Next, apply a 1 cm simplification threshold to get this simplified model.
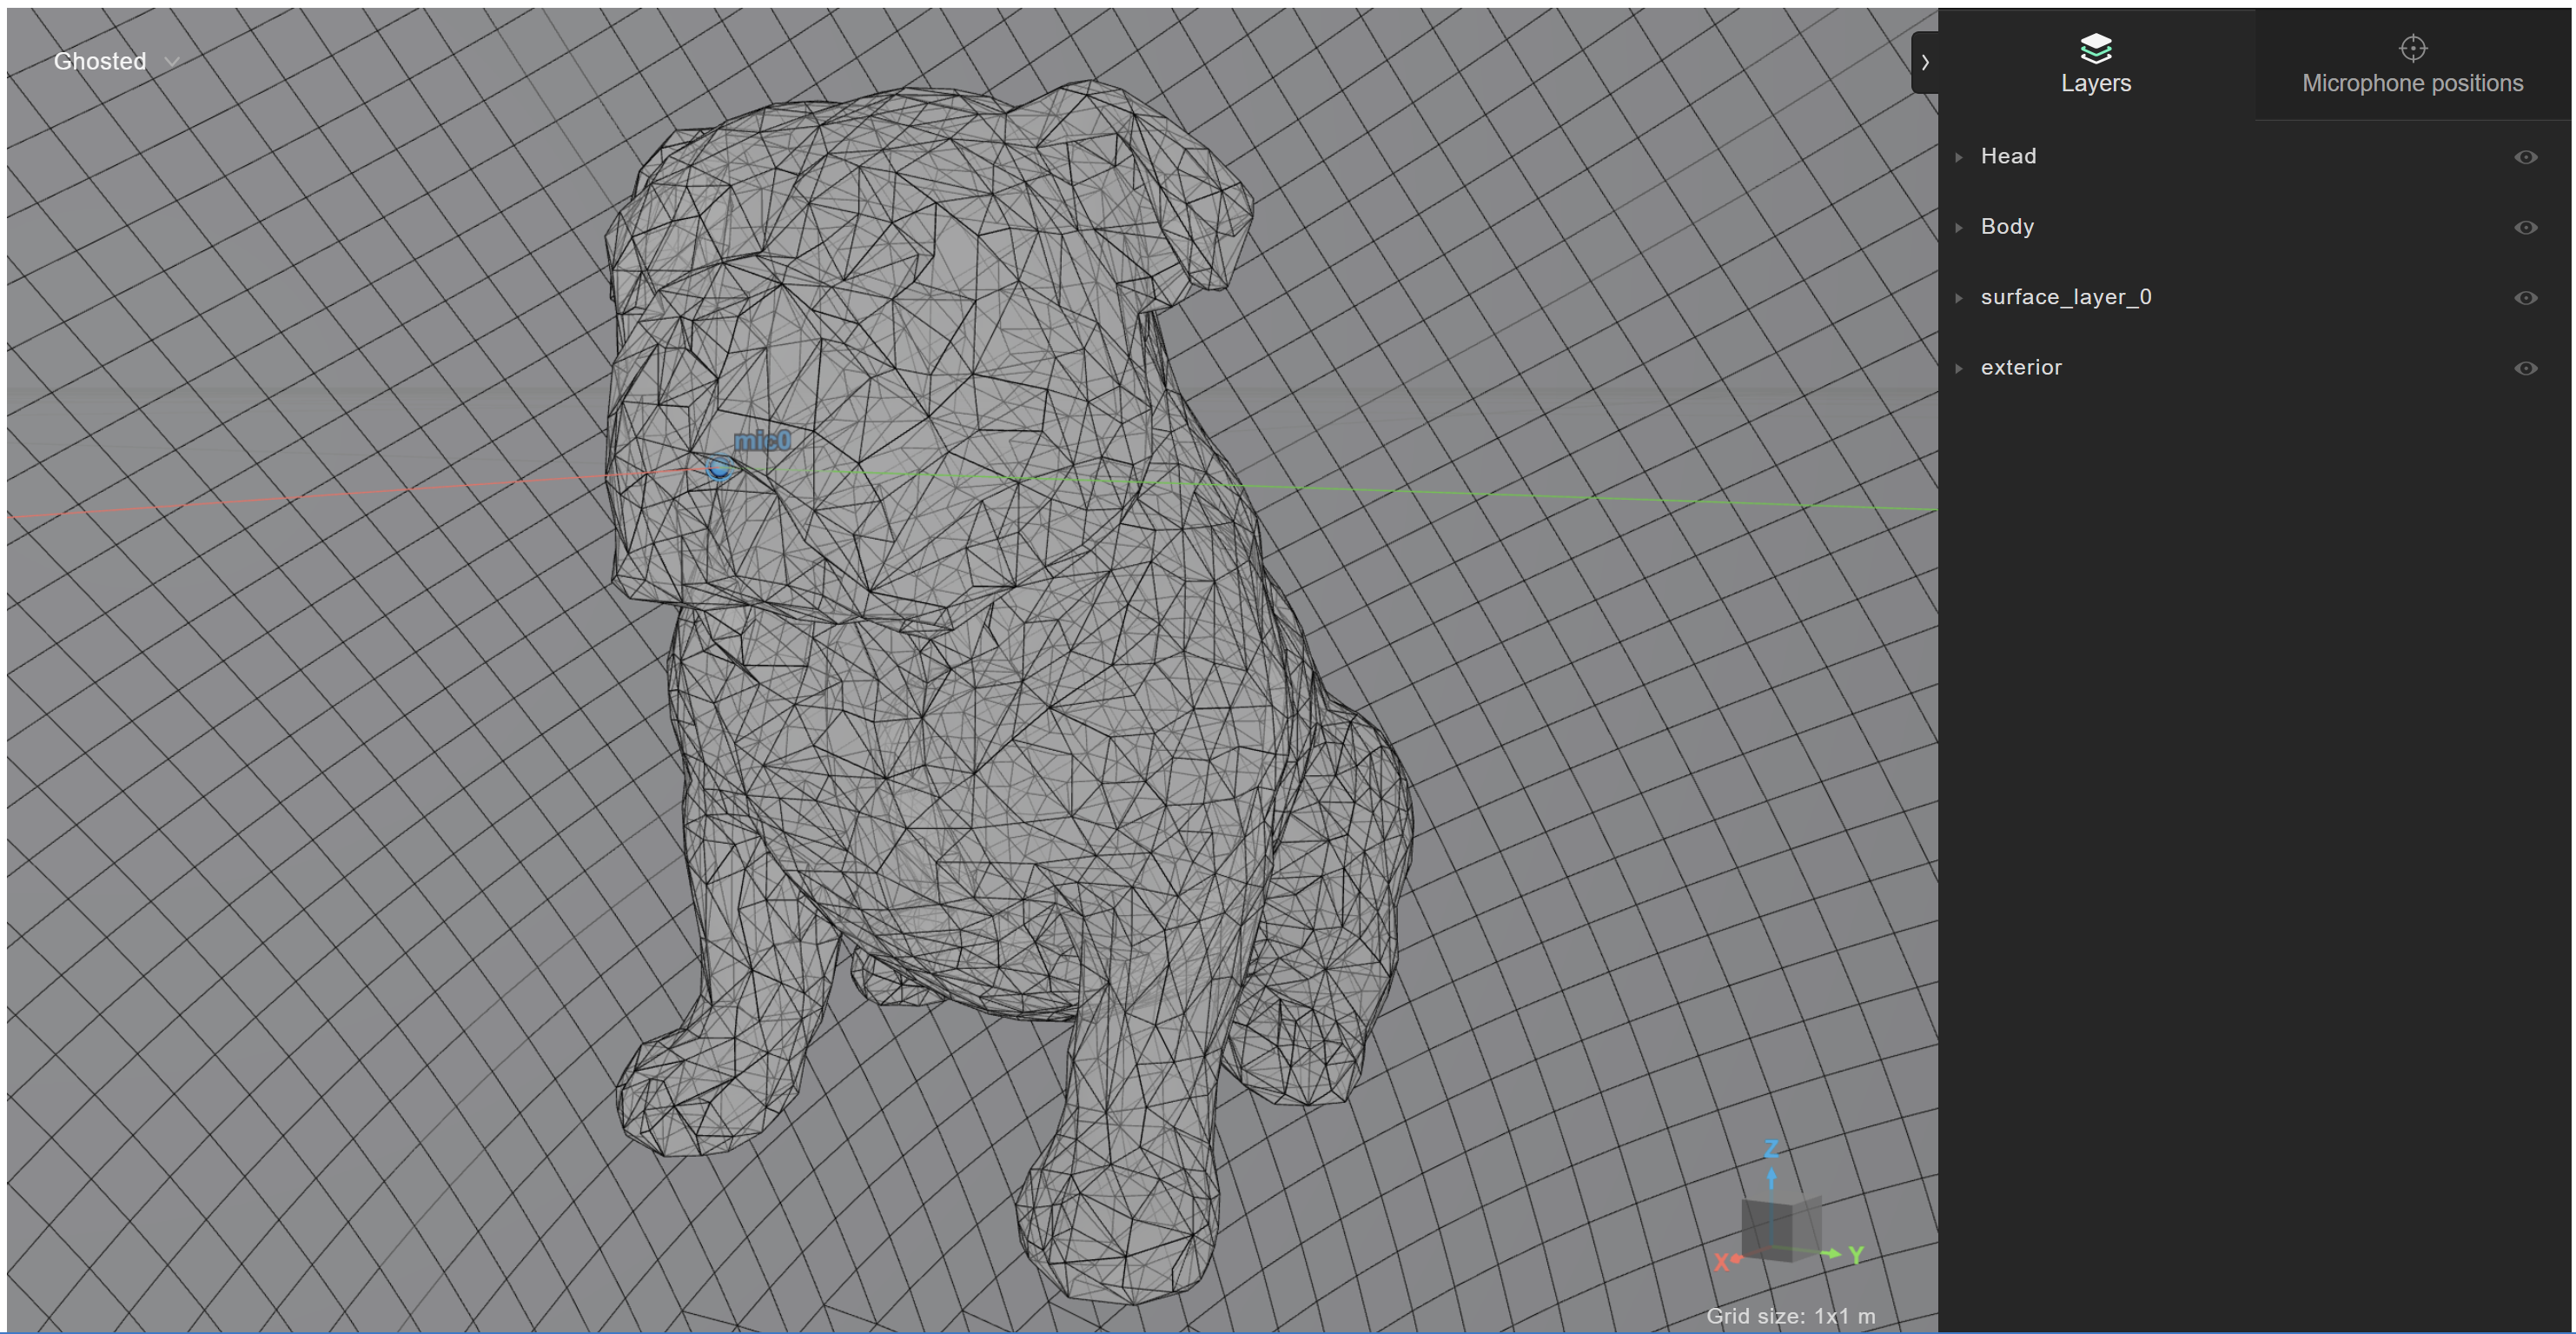
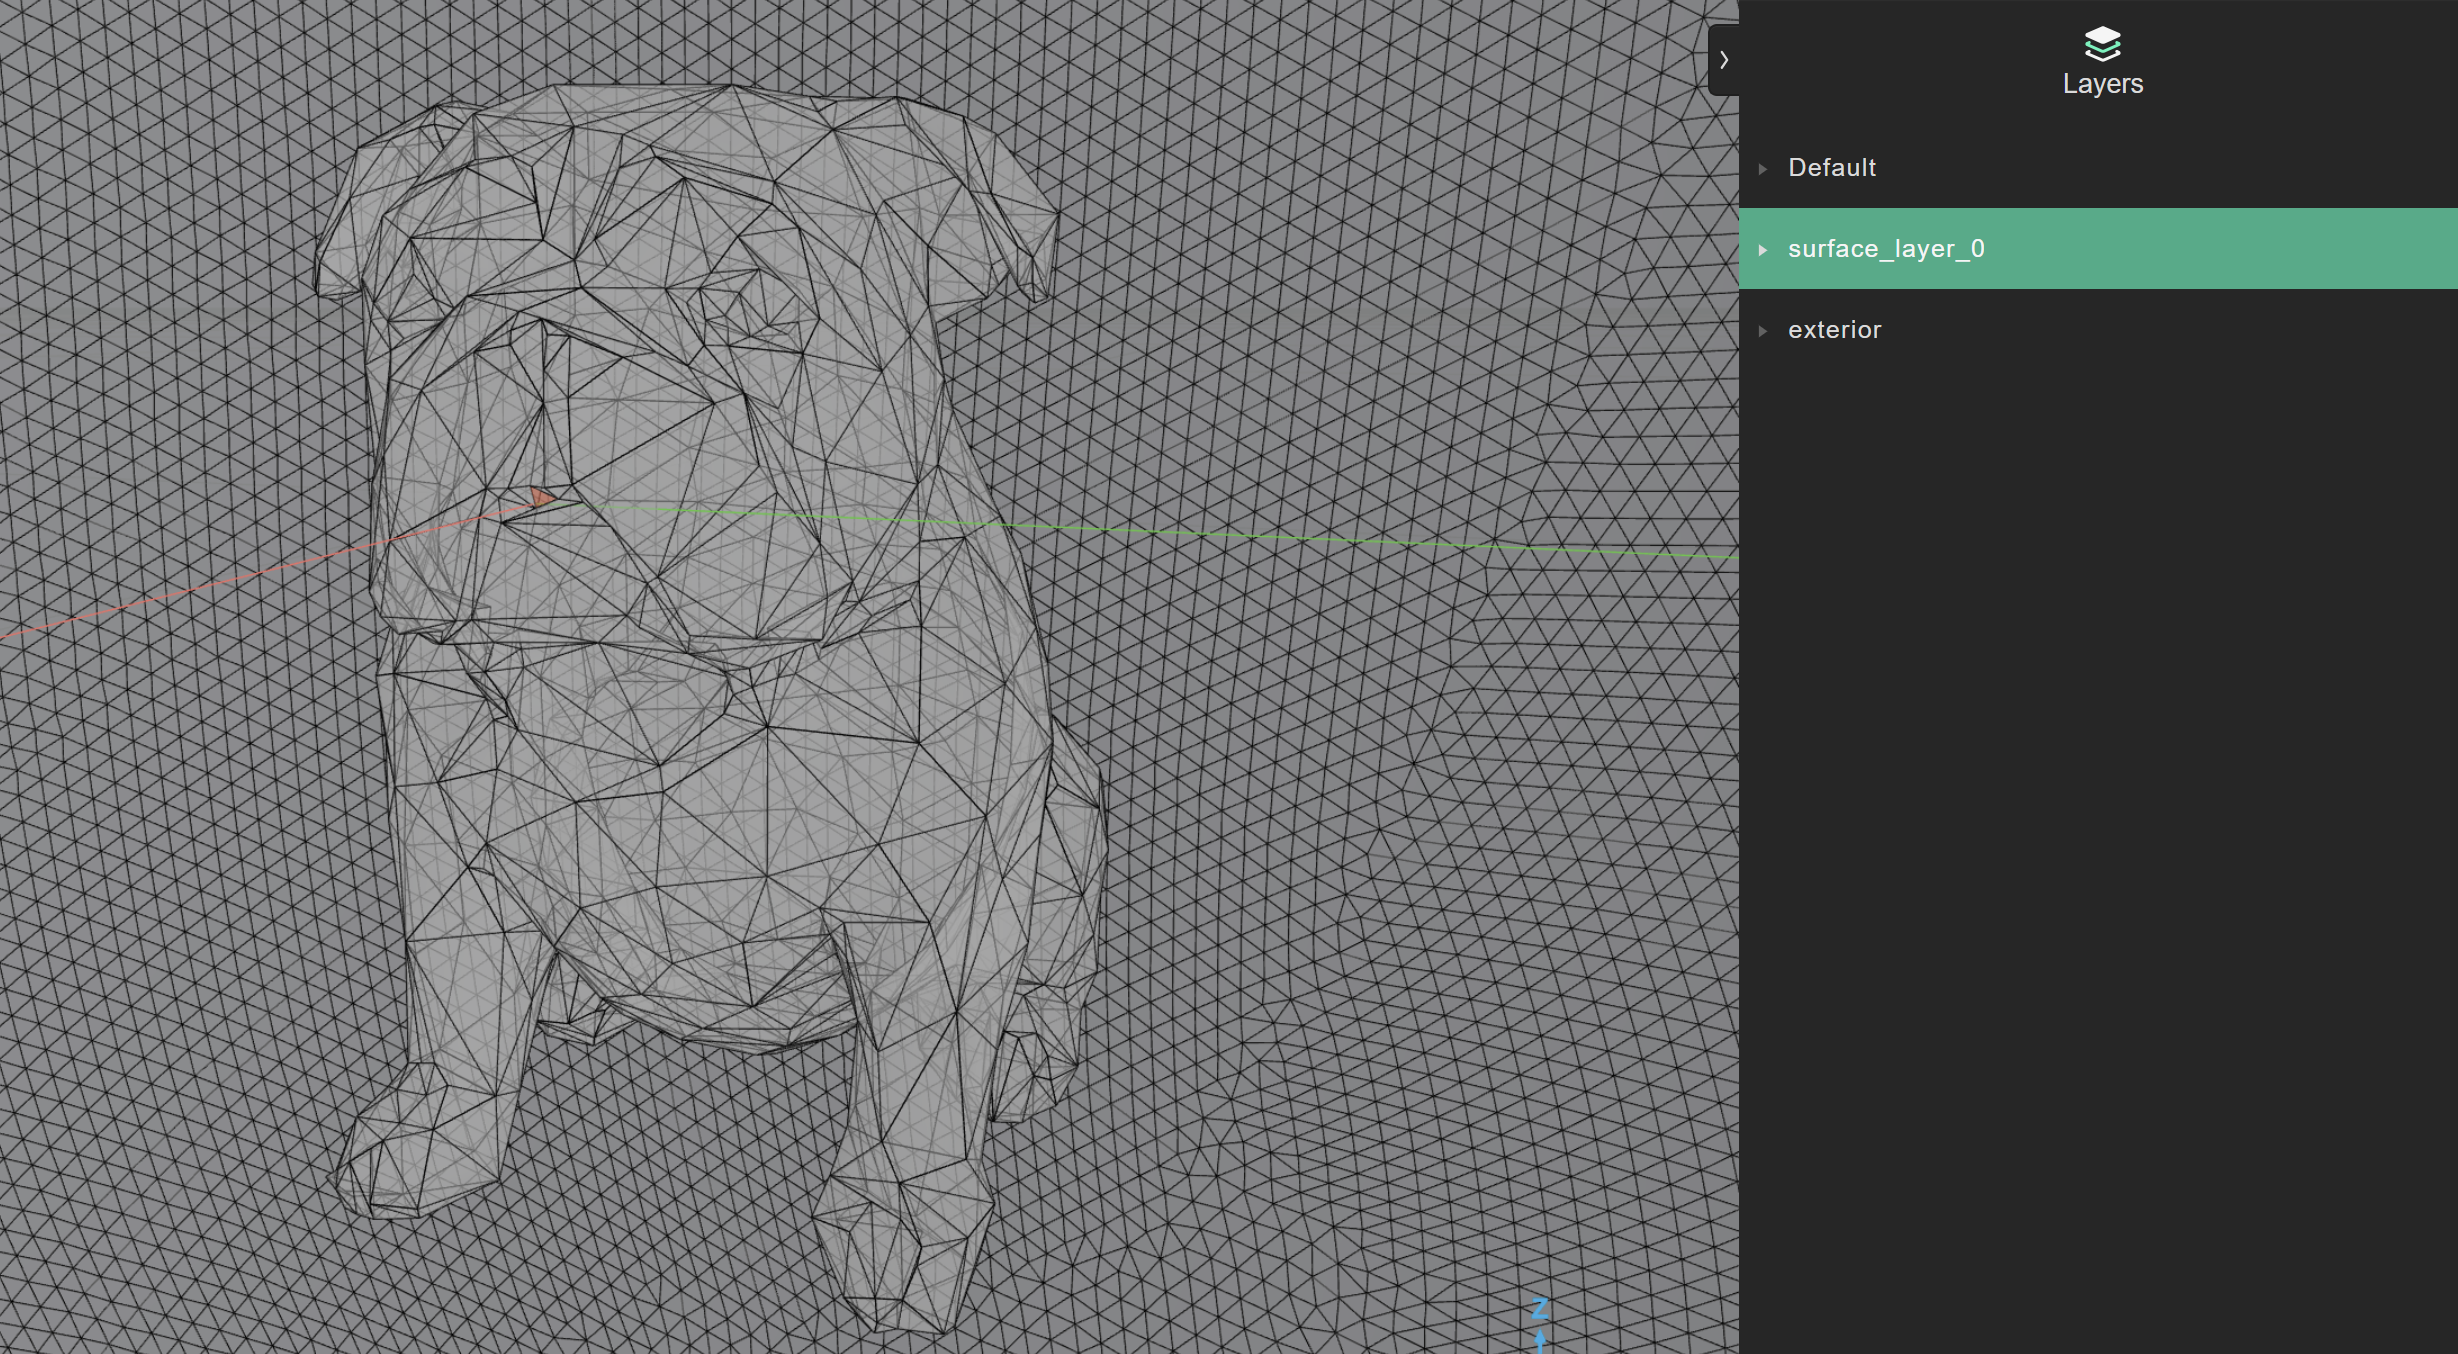
Observe the resulting mesh:
source_mesh = simulation_mesh_collection.source_mesh_infos_by_label["source_0"]
source_mesh.plot()
Add local mesh sizing by layer
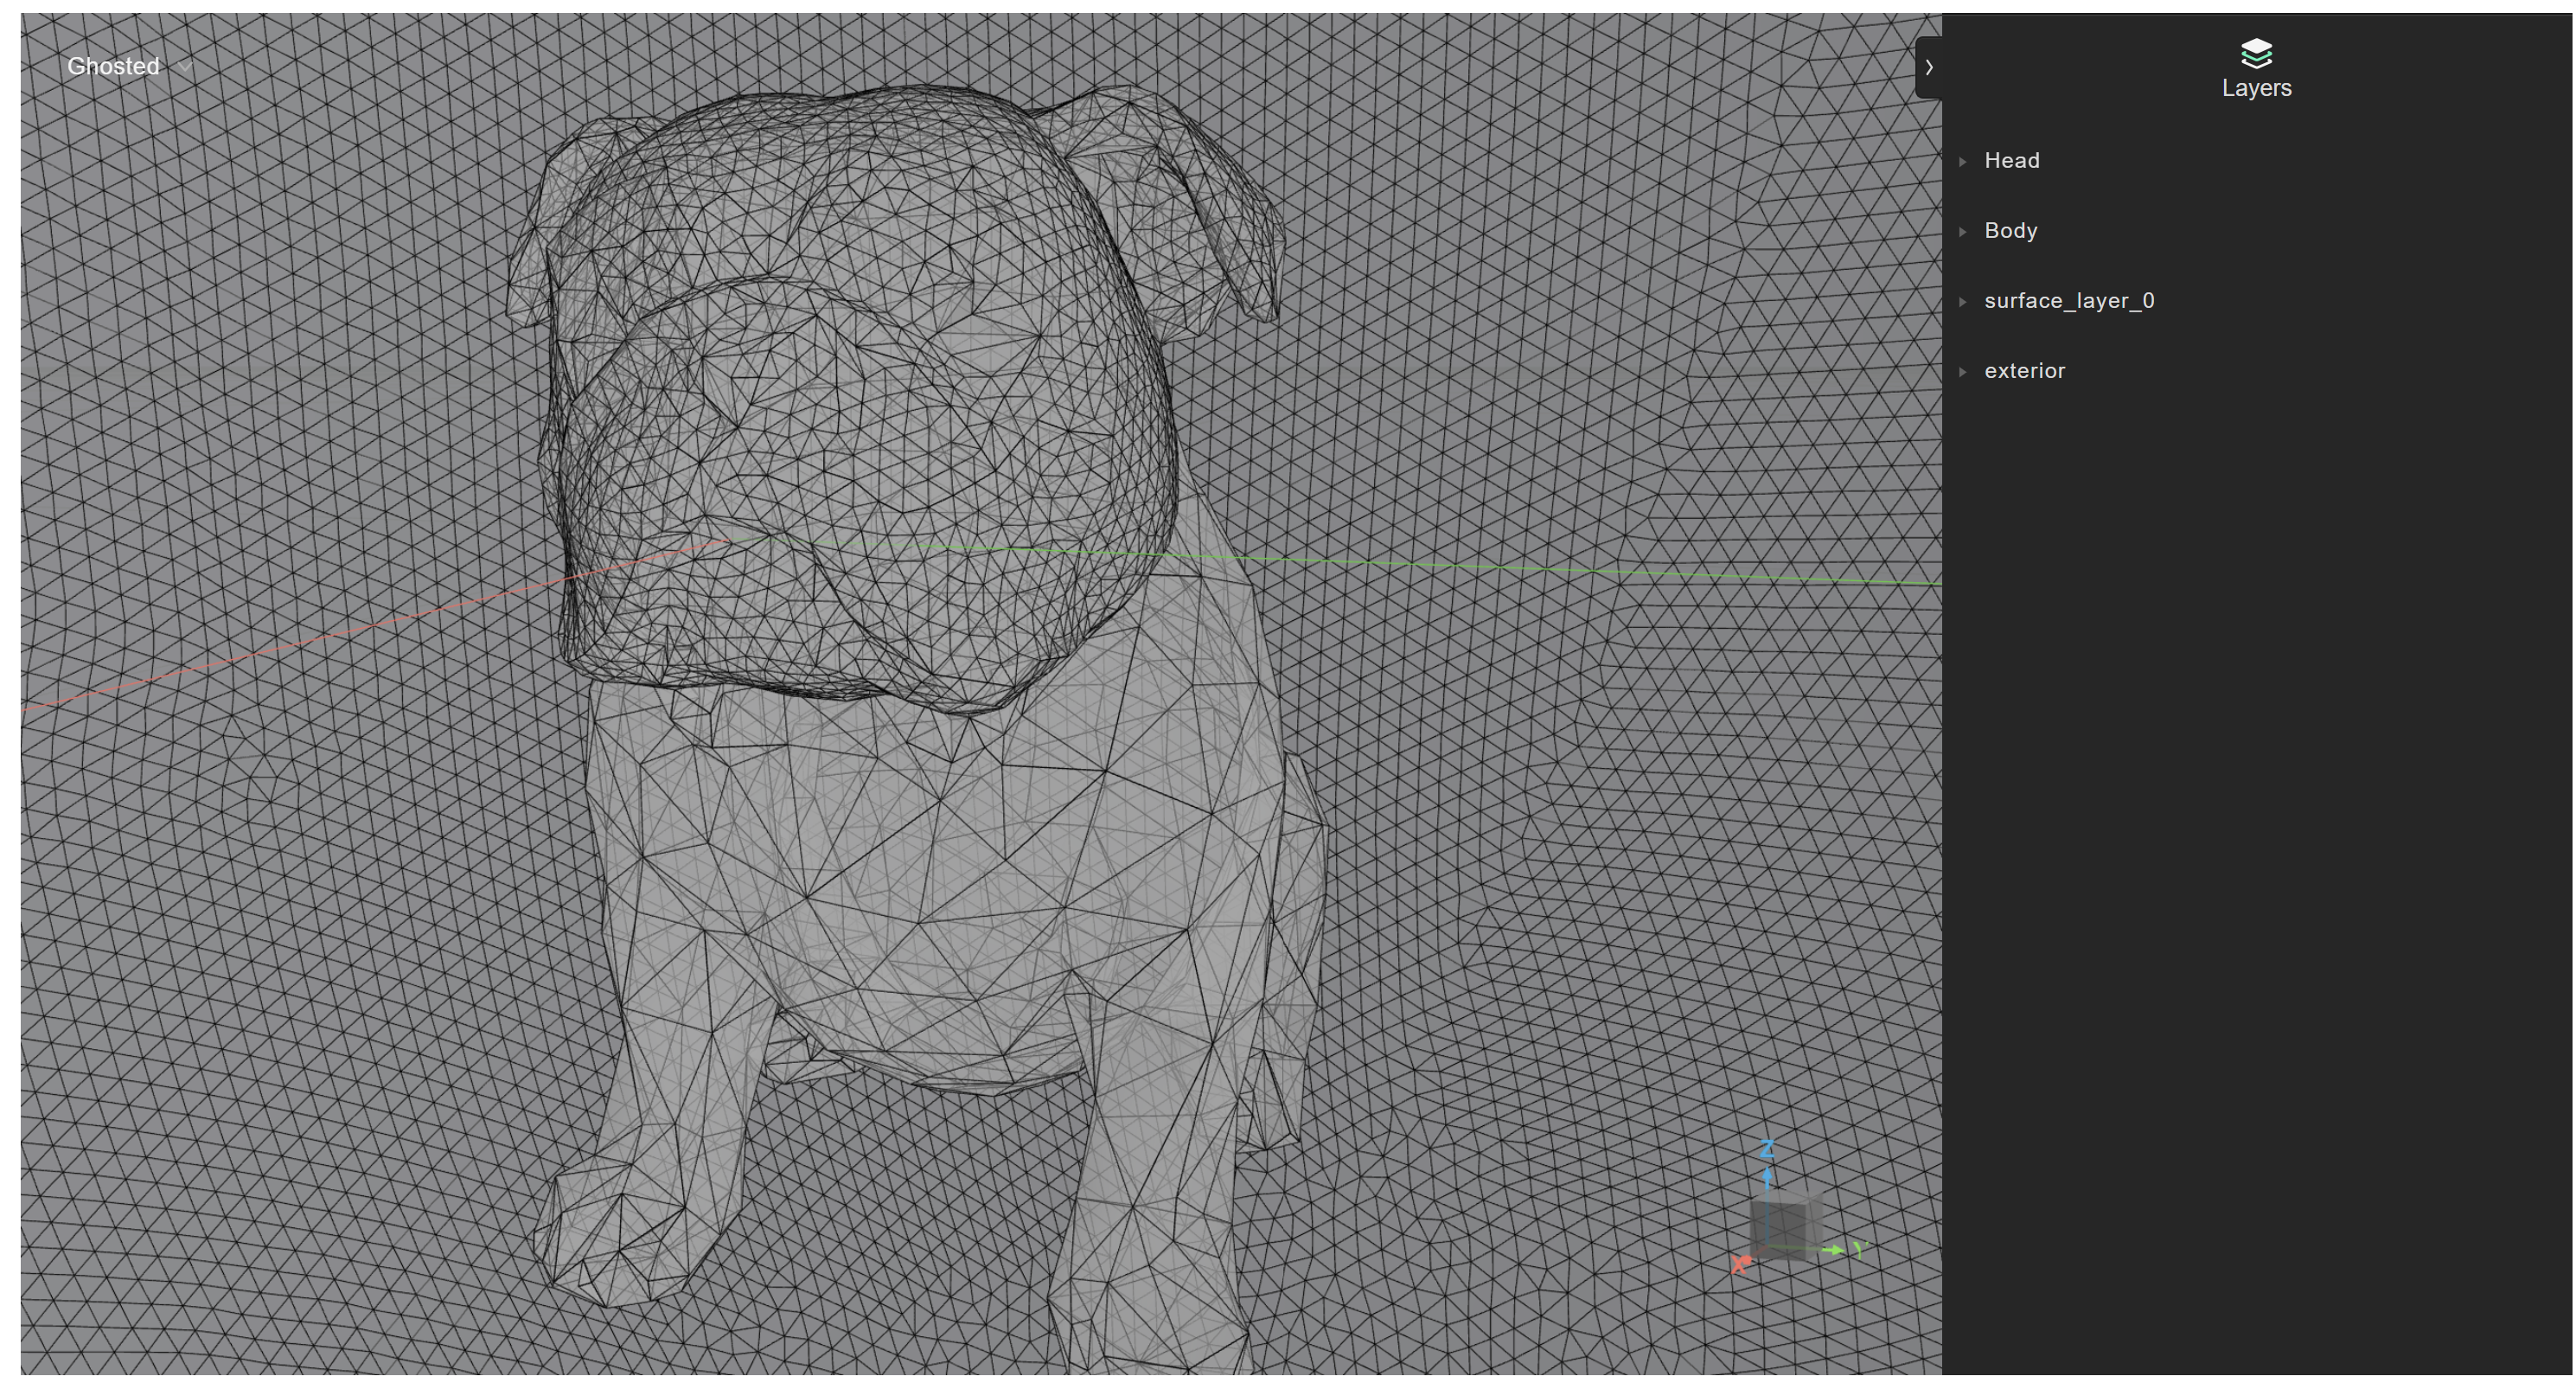
Next, split the model into two layers — one for the head, one for the body.
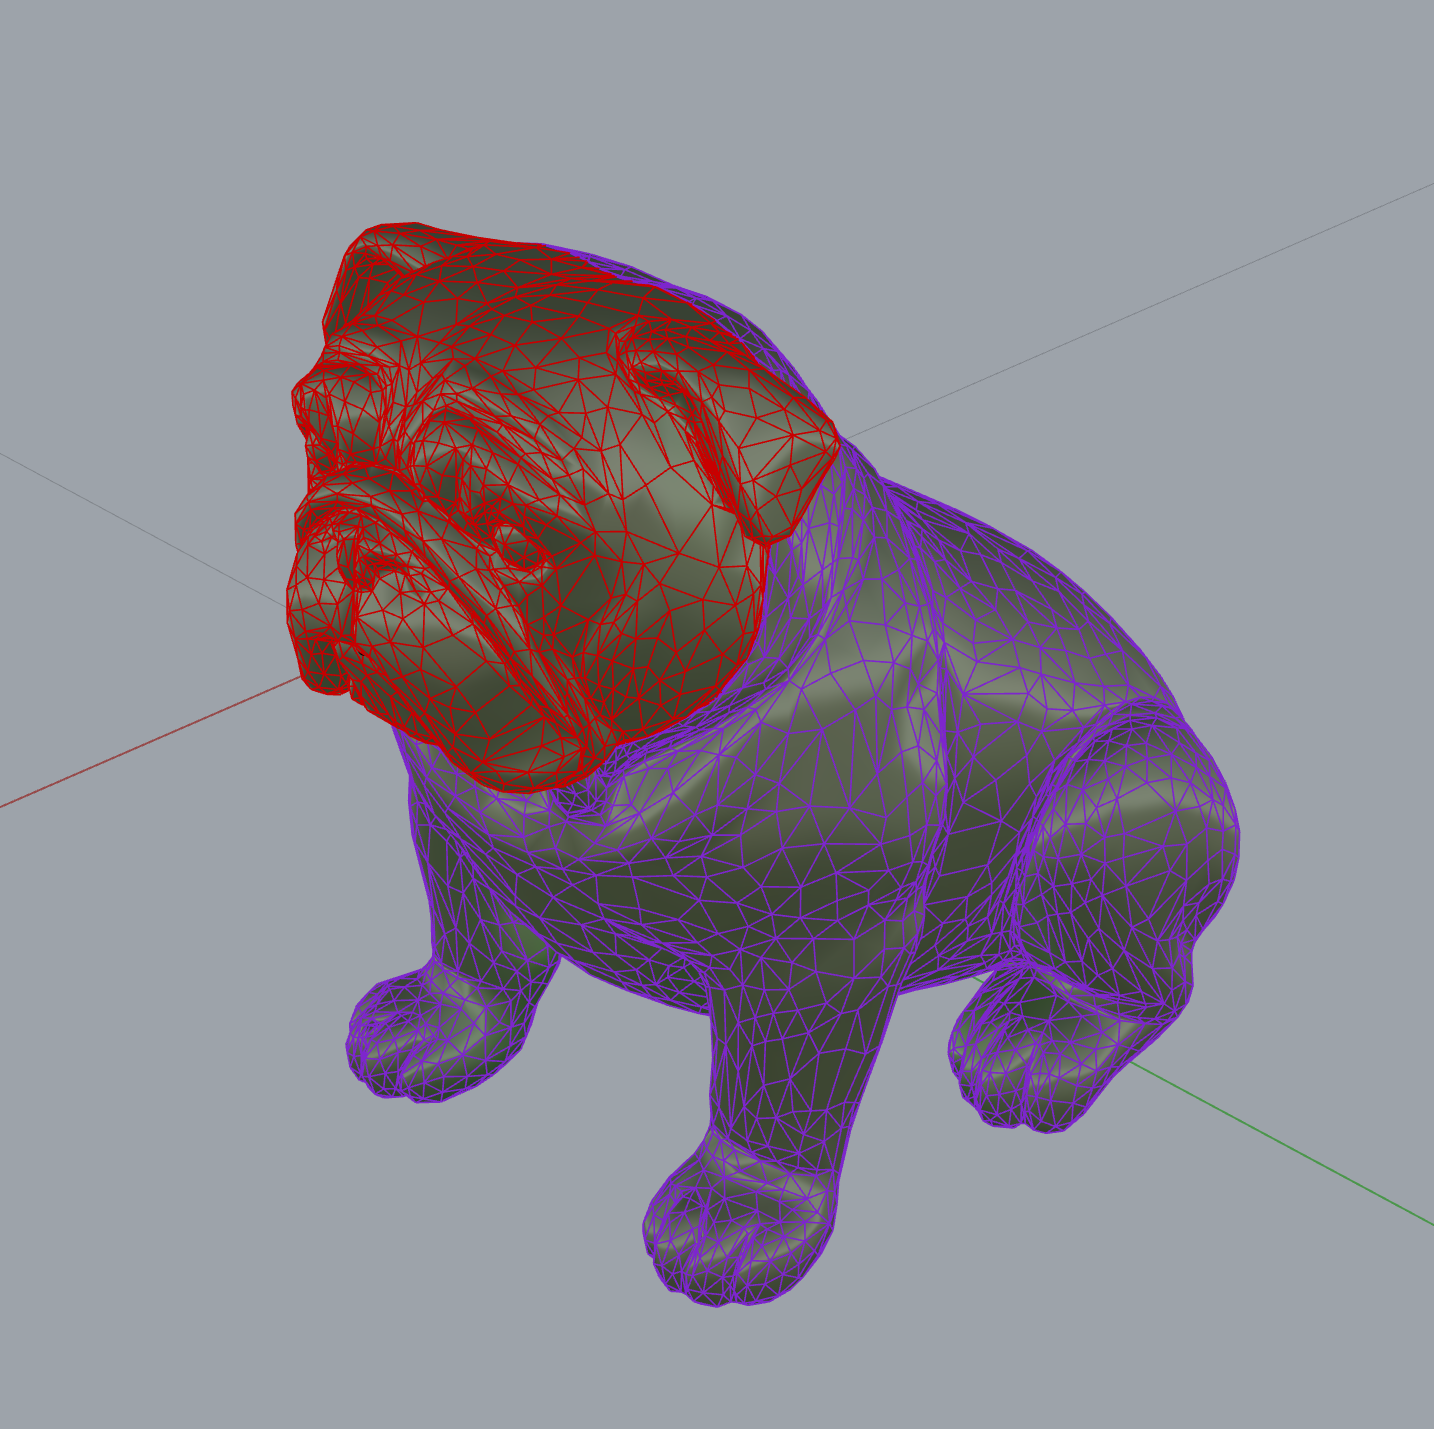
Add another layer sizing and update the simulation definition:
local_sizing.append(
    LocalMeshSizing(
        layer_name="Head",
        mesh_sizing_m=0.01,
        keep_exterior_edges=False,  # When false mesh might be more efficient
    )
)
In this case, using a local sizing of 1 cm to preserve features on the face of the model reduces the mesh efficiency to 0.01%. Many very small elements aren't considered at the 6000 Hz transition frequency.

Remove input geometry simplification
Since the original mesh had already been simplified, test the effect of removing the simplification from the input geometry and leaving only the local sizing to operate on the head layer.
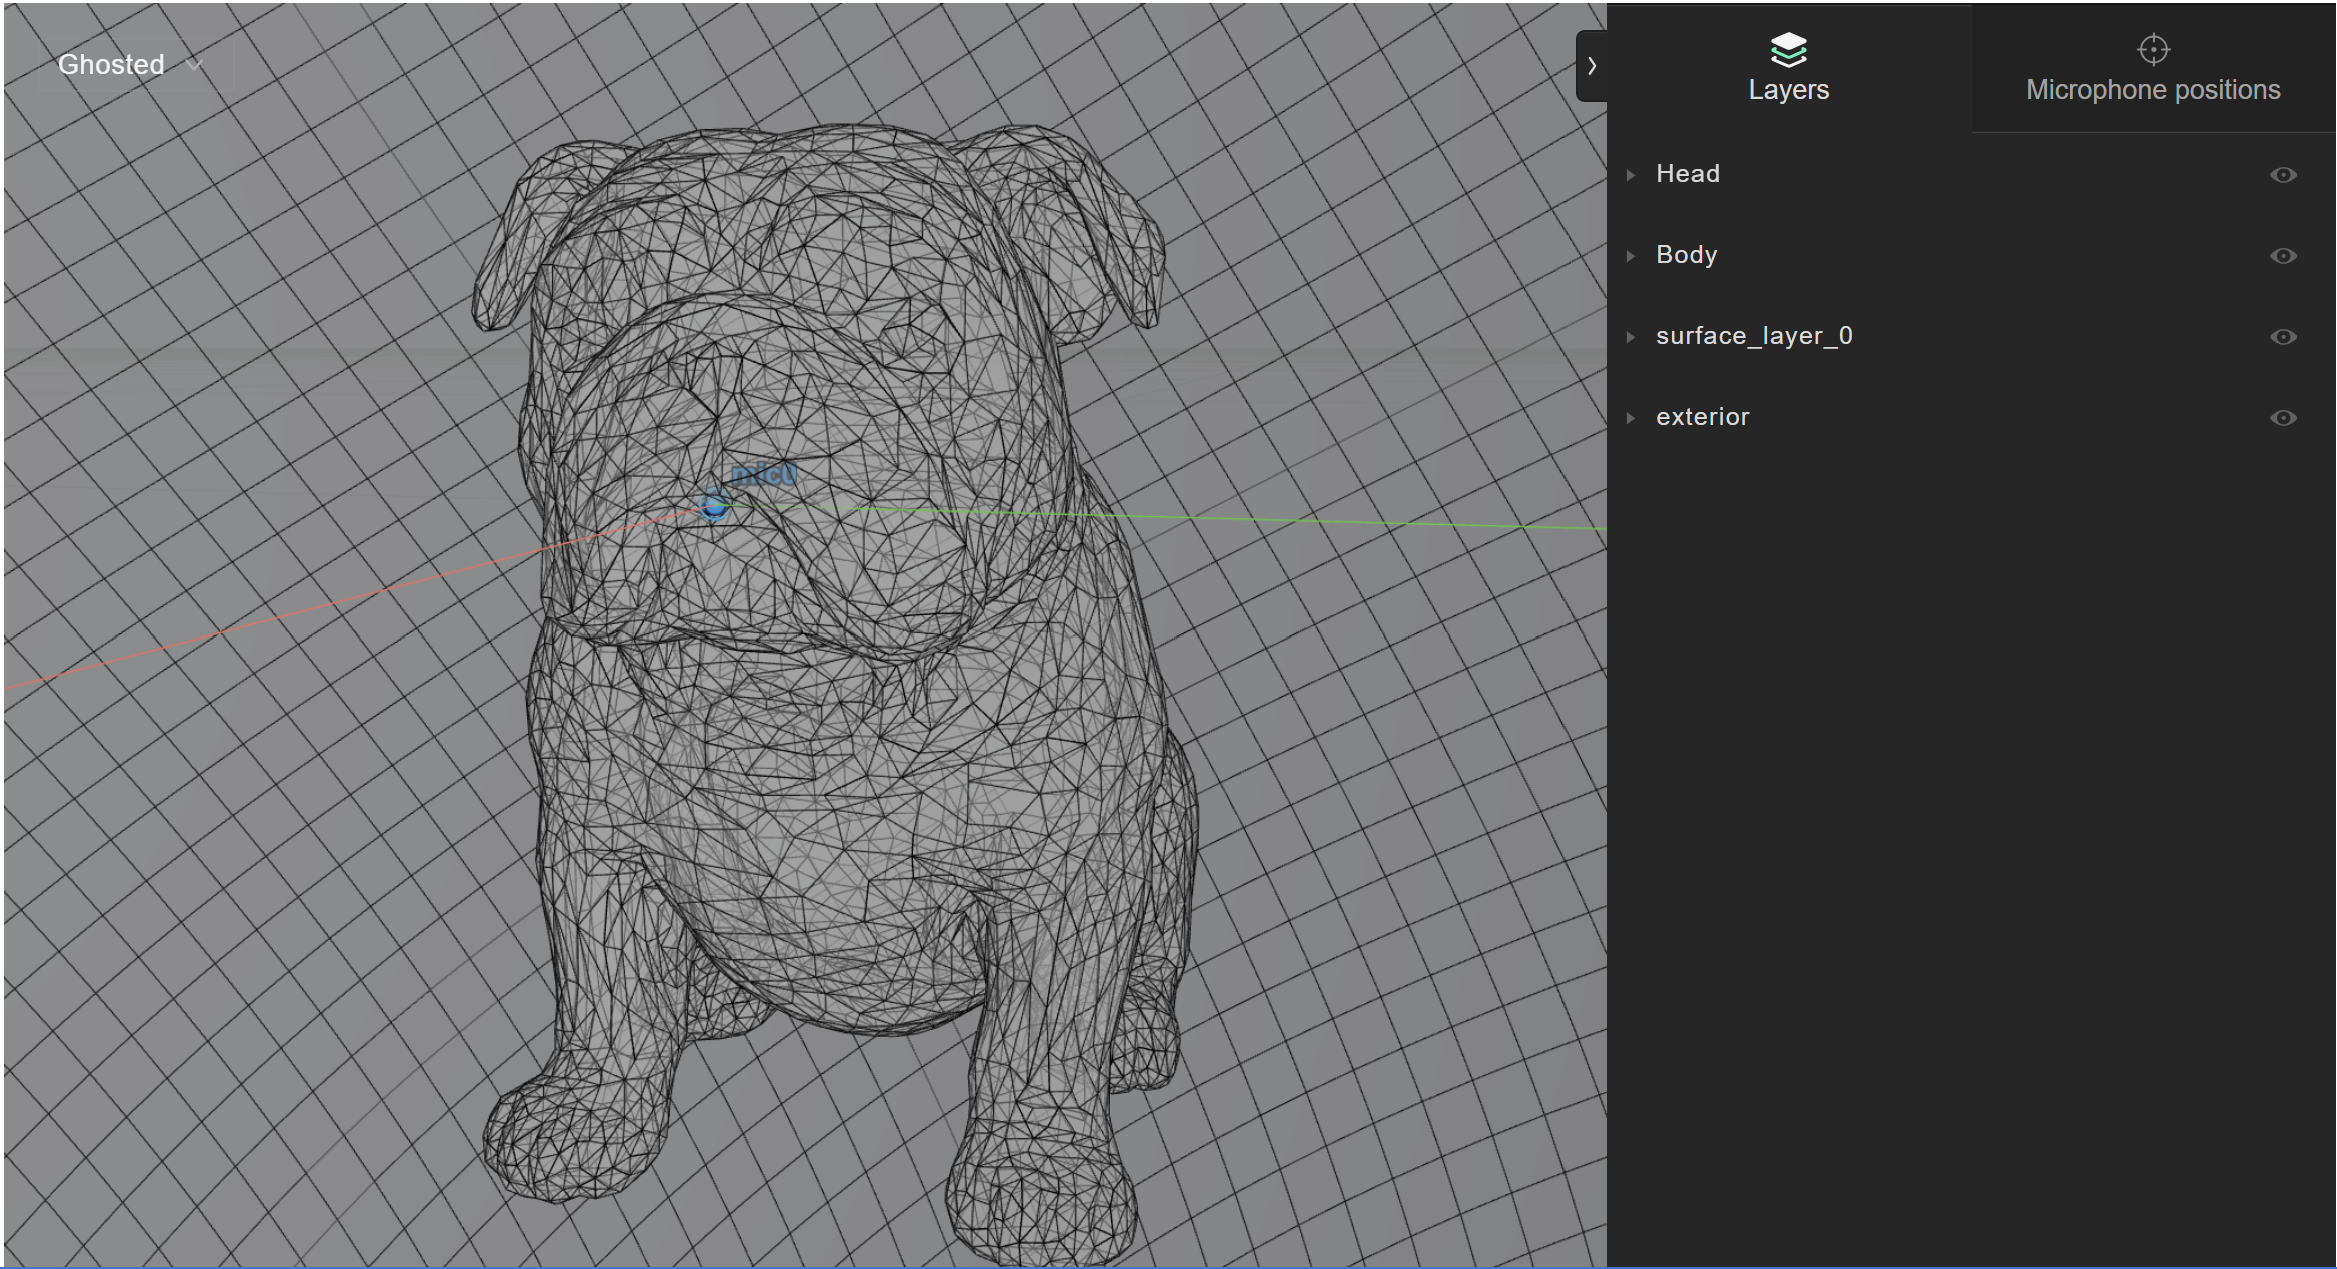
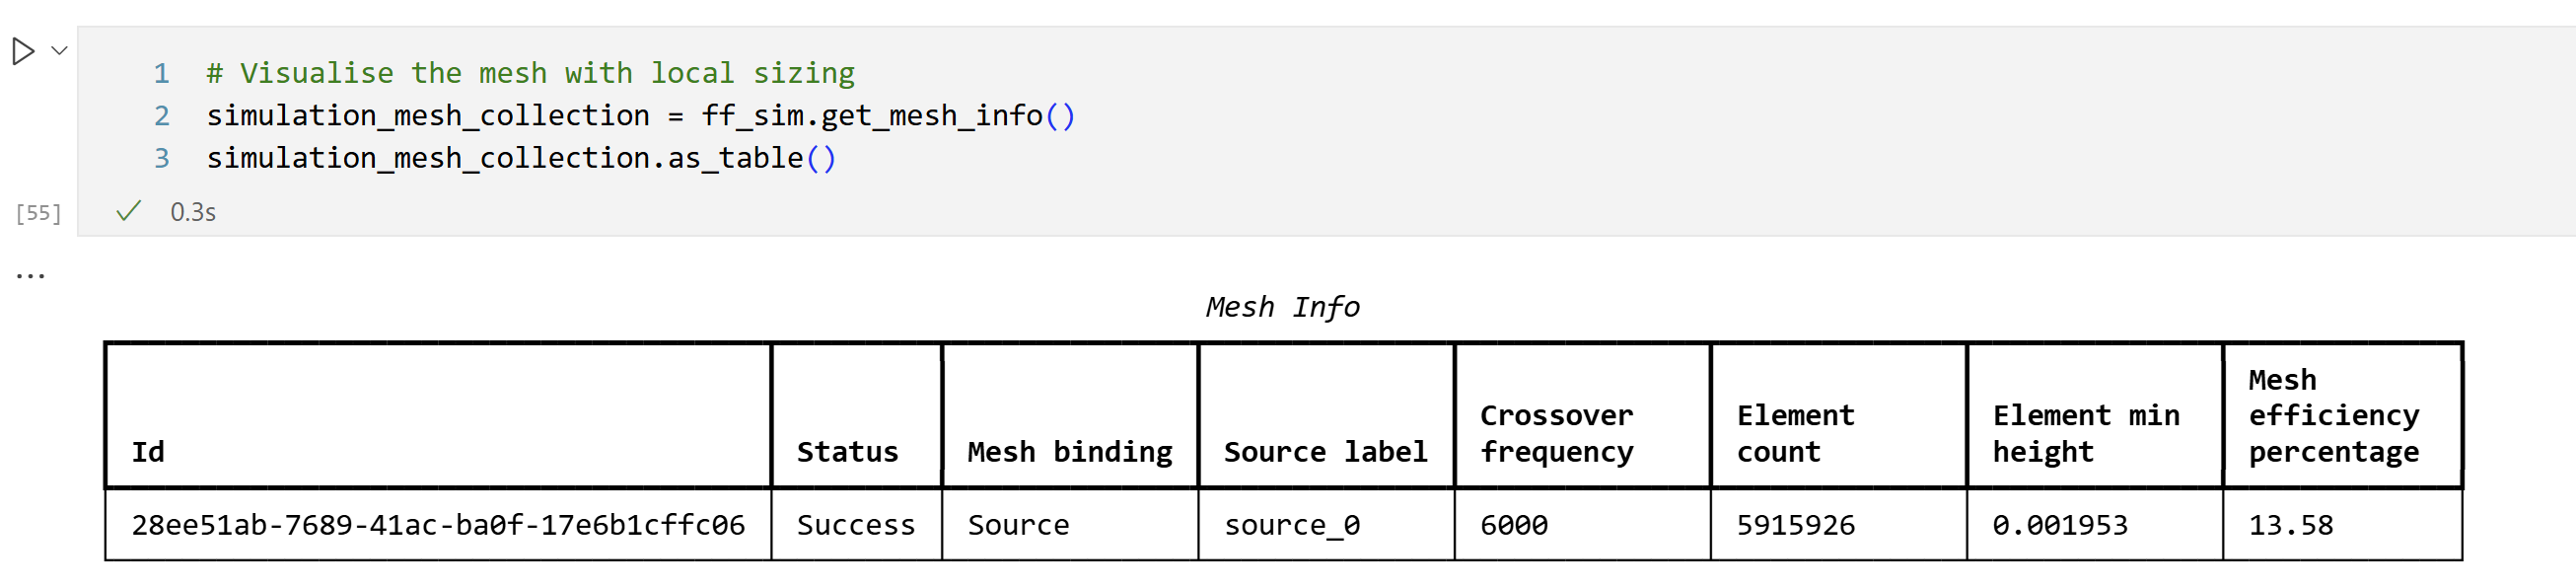
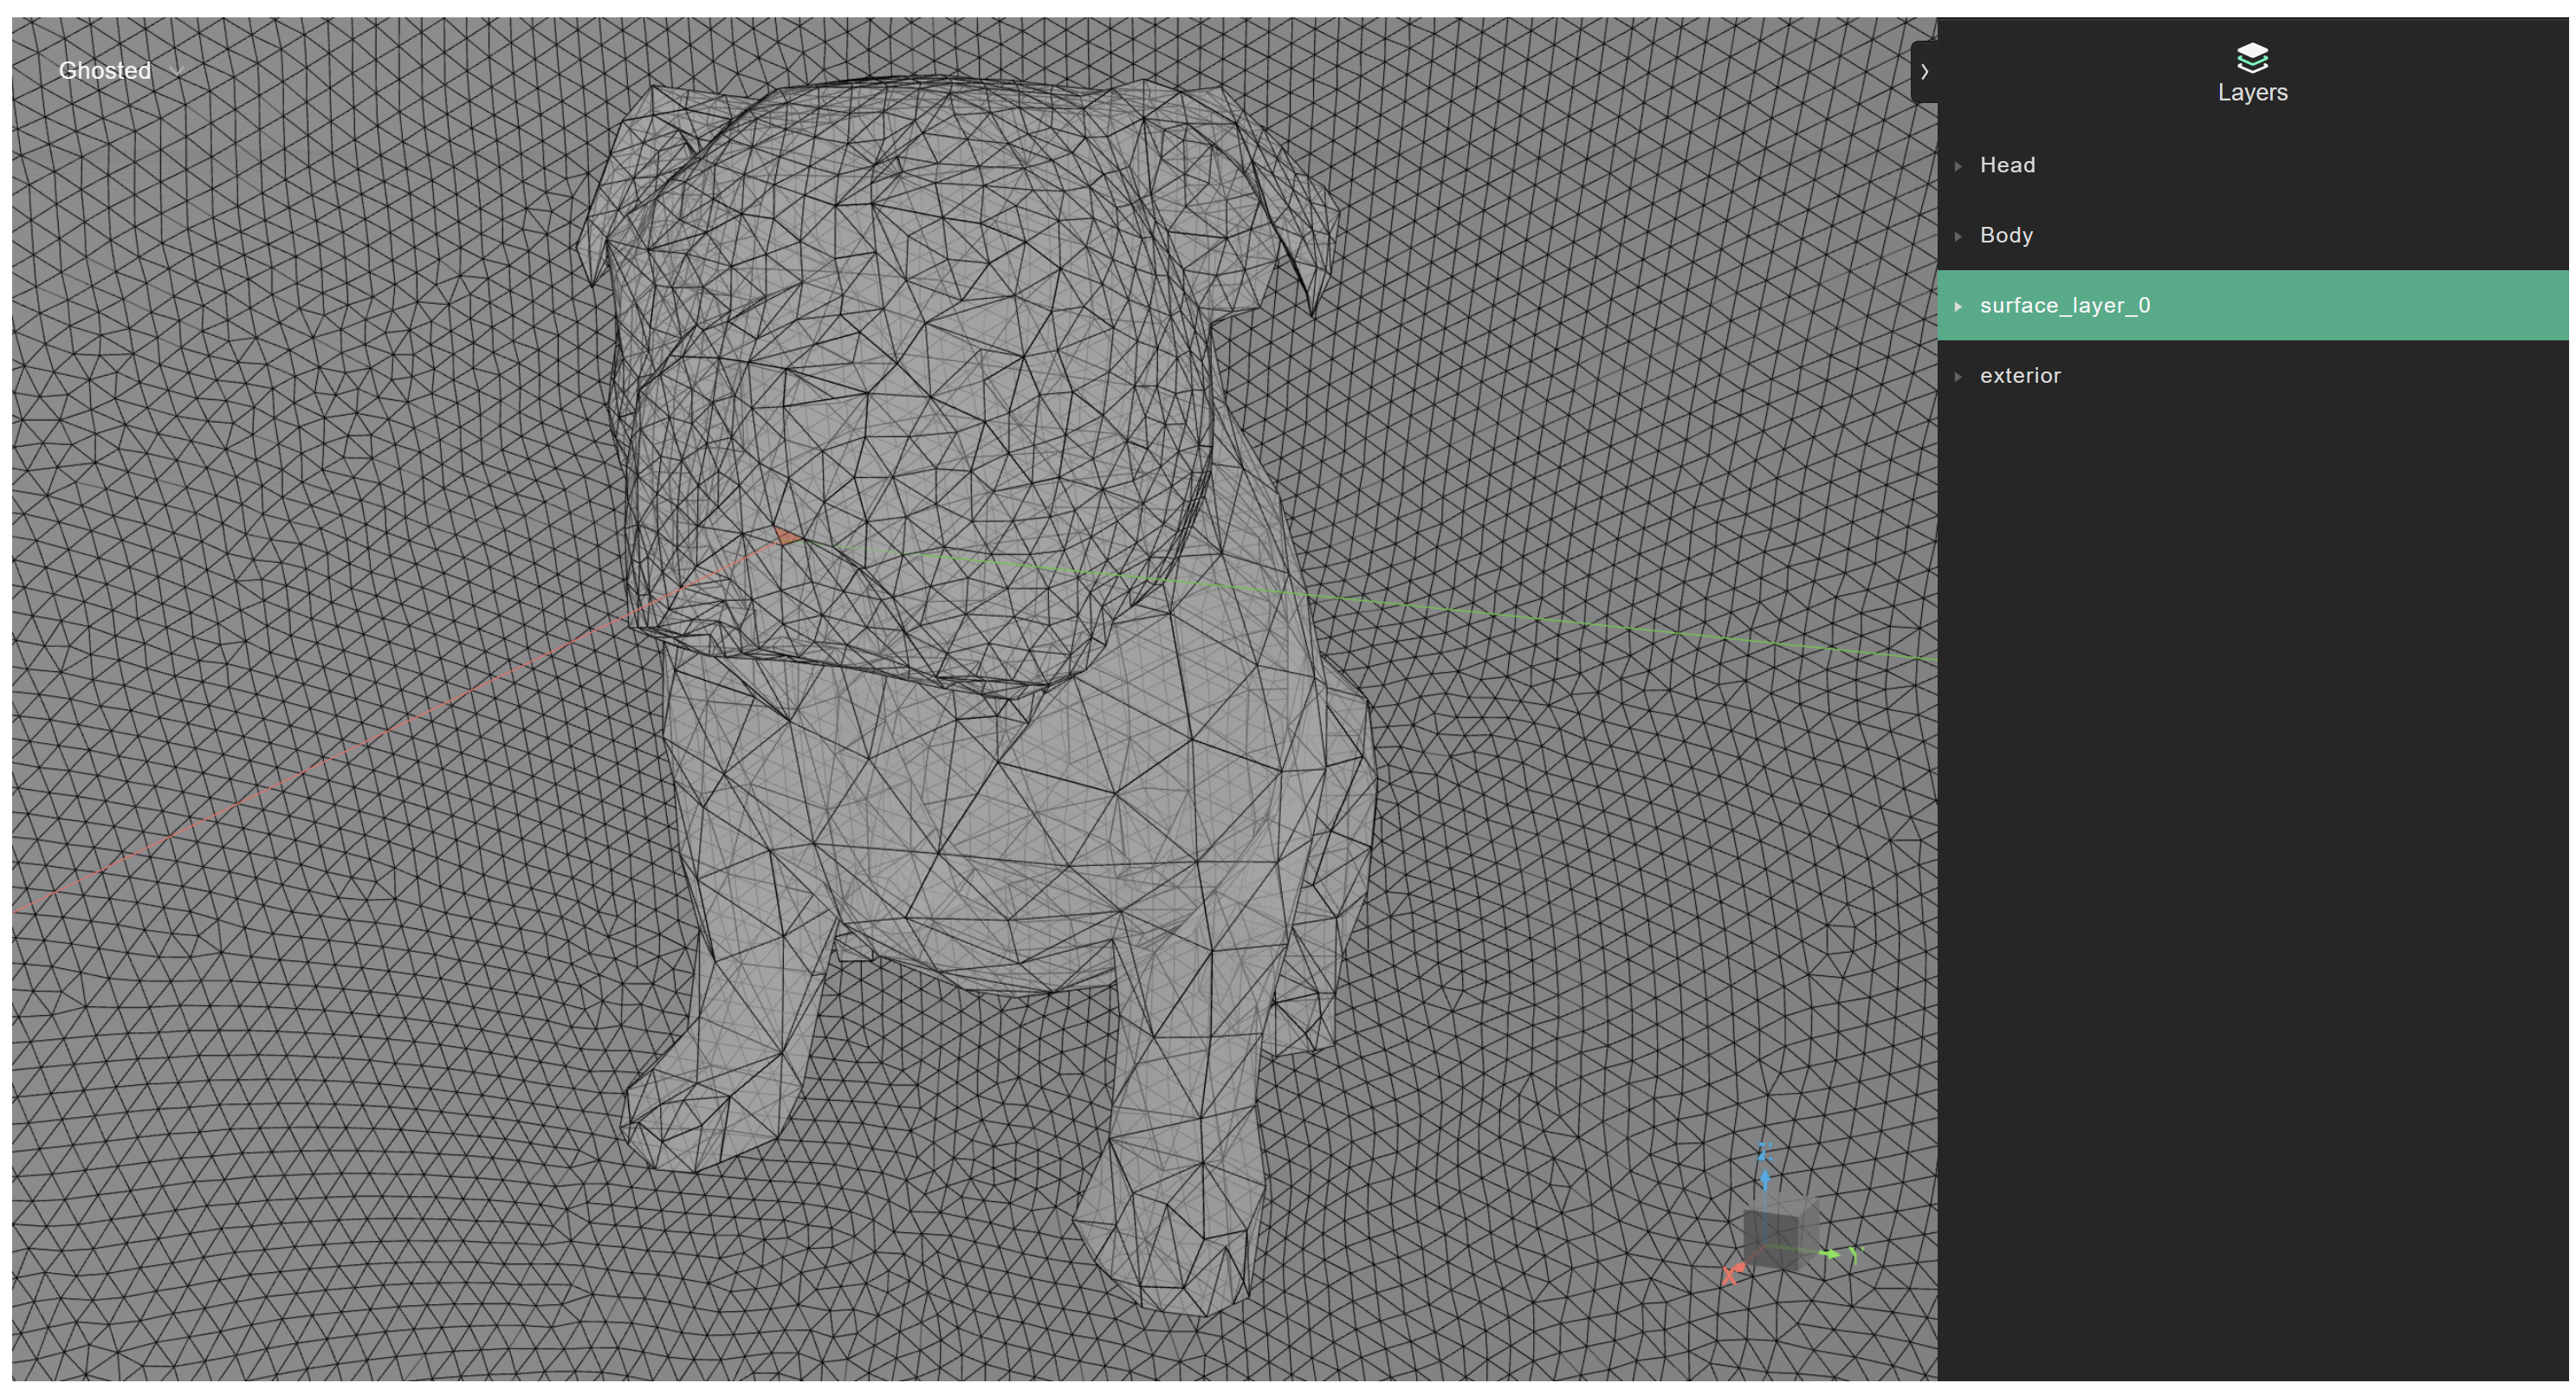
The sizing is 1 cm on the face, while the meshing optimization process automatically simplifies the rest of the body.
The mesh efficiency increases to 13%. To improve it further, simplify the rest of the body.
The code examples can be run by downloading the .3dm files made available below: